Tuesday, June 30, 2026

Pinkfresh Studio Daydream Edit collection

Hi crafty friends! Things have been crazy busy here these last few weeks. Mother's day, my birthday, both my boys college graduations and then Father's day! I finally had a moment to craft just for myself to ink up some goodies from Pinkfresh Studio's collection called Daydream Edit.
๐Ÿ’ฅScroll down for complete supply list๐Ÿ’ฅ 
I just love all the gorgeous floral collections from Pinkfresh Studio. They always release complete collections with stamp sets, matching dies, coloring stencil set, sometimes with standalone dies and/or coordinating washi tape. Always beautiful and so thought out!

To start my cards I stamped the image from the Floral Daydream stamp set on Bristol Smooth cardstock and used the Floral Daydream stencil set to color it. Then I die cut the pieces with the Floral Daydream die set. I then used the lightest purple and green in the ink quads to lightly ink the edges of the card front (kind of hard to see in the photos) and then organized the flowers and stems around the white circles from the Stitched Scalloped Circle die set. I used the sentiment from the stamp set as I don't have a large stash of sympathy cards. I love how these turned out!
 
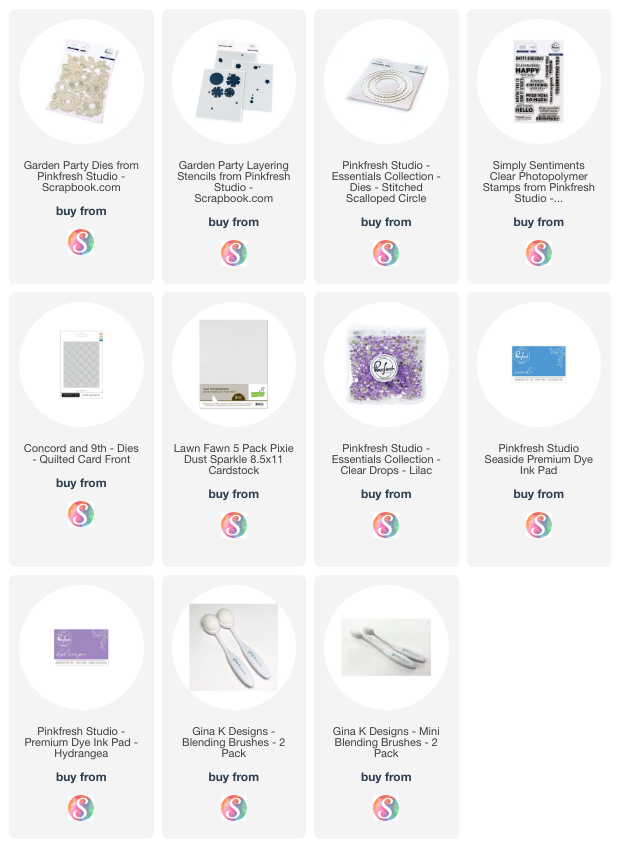
  Supplies used on these cards: 
There are affiliate links in this post. This means if you shop with these, I will receive a small commission at no cost to you. If I've inspired you in some way I appreciate your support.
Thank you for stopping by and have a great day! 


Monday, December 2, 2024

Pinkfresh Garden Party birthday card

 Hi crafty friends! I have a fun birthday card to share today. I got the amazing Garden Party die set and coordinating stencil set a while ago and finally had the chance to use it! Check out what I made and scroll down for a list of supplies used.
You know I love me a great floral die set and Pinkfresh has a TON! My wallet doesn't always keep up with my eyeballs, but I fell in love with Garden Party as soon as I saw it! ๐Ÿ’™๐Ÿ’œ
I also played along with the Color Hues Color challenge which is to use tones of BLUE and PURPLE. Say no more! I love these colors and was happy to play along. Side note, this challenge is their 100th challenge and there is a pretty awesome prize offered up to the winner!
I used 2 shades of each color cardstock and did some inking blending to get some dimension. And for a bit of sparkle I inked my Pixie Dust Sparkle cardstock with Seaside ink and added some Lilac Clear Drops. I love how this turned out!

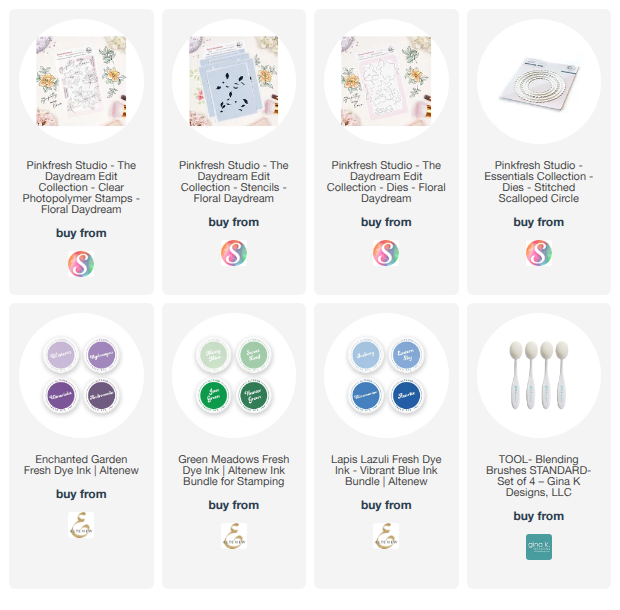
Products used on this card:
These are affiliate links which means that if you shop with these, I will receive a small commission at no cost to you. If I've inspired you in some way I appreciate your support.
 Thanks for stopping by and have a great day!


Wednesday, May 1, 2024

Flower cart card and redo -do you have a favorite?

 Hi everyone! You know how you make a card and something is just off? Then you take apart and redo it and your friends say they like the original version better? Yeah me either ๐Ÿ˜„ But if I did, it would look like this.
 
Here is the original version of my card:
I used the super cute Flower Cart die set by Scrapbook.com and had some ink blending in the background. The panel was trimmed and mounted to a Scallop A2 Rectangle die cut.
To give the flowers a bit of dimension I used Pops of Colors for the centers. I think they give the perfect amount of something special.
Here is my final version:
I saved the Flower Card die cuts and put them over a smaller die cut with the Diagonal Stitched Rectangles panel with much lighter ink blending. I mounted that to the Diagonal Stitched Plaid coverplate both sets are from Pinkfresh Studio.
So, do you have a favorite??
I like them both equally and am glad I saved a photo of the first version so I could share both!

Supplies used on these cards:
 Pops of Colors in Gloss Sunshine and Gloss White
Distress Oxide inks in Rustic Wilderness and Tumbled Glass
 
Before I go, Monday was International Scrapbook day and to celebrate Scrapbook.com has lots of deals, 3 freebies and deals of the day!
10% off of 15 brands
FREEBIES -don't forget to add them to your cart!

Thanks for stopping by and have a great day.

Monday, April 1, 2024

Easy Pinkfresh Studio washi tape cards

 Hi everyone! Today I'm sharing 2 quick and easy cards using Pinkfresh Studio washi tape die cuts. I bought this lovely dahlia washi tape and die cut them out almost a year ago. Evidently I set them aside and lost them, only to find them this weekend! Check out what I made.
This washi tape is STUNNING! Really, ALL of their washi tape is stunning. What I love is Pinkfresh makes coordinating die sets to cut out all the pieces (or you can fussy cut them if the die is not in your budget). I chose to adhere the washi tape to white cardstock, but for a softer look you can adhere to vellum and it has a beautiful translucent look.
For this square card, I used the Stitched Scalloped Squares and chose cardstock that coordinated with the pinks in the washi designs. I layered 4 of the cut outs at opposite corners, added a few gold pearls and a glimmered sentiment from my sentiment stash box.
This is a mini slimline card and the Slimline Stitched Scalloped Rectangles are sized for a regular slimline card, so I cut pieces out on all 4 sides to make it smaller. Most of the cut lines I was able to cover up with the washi die cuts, but if you look close at the top right corner, you can see one peeking out! For the background, I used the Geometric Tile layering stencil set. I used Distress Oxide inks on 2 of the 4 layers so it the washi die cuts could take center stage.
 
Supplies used on these cards:
Distress Oxide inks in Saltwater Taffy and Bundled Sage
Black Glossy cardstock

Thanks for stopping by and have a great day!!

Wednesday, August 11, 2021

Copic colored Caring Flowers

Hi everyone! When I saw this gorgeous floral spray image from the Caring Flowers stamp set by Gina K Designs, I just had to have it! It is stunning and the sentiments in this set are unique and meaningful. I have been seeing gorgeous blue flowers all over Pinterest, so I went with the inspiration and used blue hues to color these. I added touches of white gel pen to the centers for a crisp contrast.

I kept in the blue tone family and colored the accent flowers with a purple combination. I just love how this turned out and I can see it colored in a million other ways. 

The cover plate die I used is part of Pink Fresh Studio's Essentials line, Diagonal Stitched Rectangles. I pretty much use it on every card!

The gems were purchased in bulk from Etsy and here is a pic of me sorting them by color family, cause a girl's gotta do what a girl's gotta do! Now they are all neatly organized and easy to sort through for every project.

Thanks for stopping by and have a great day!!

Monday, February 8, 2021

Pinkfresh Studio layering stencils

Hi everyone! One good thing about taking a break from crafting is when you come back you get to discover some new fun products! I recently discovered the layering floral stencils from Pink Fresh Studio and I'm not looking back!

These are genius for crafters who don't color images OR don't have the time or energy to color. The stencils are numbered and have alignment marks which makes them super easy to use. Just remember to stencil your colors from light to dark and the stencils do the work for you!!

First up is a card using the stunning Daisy Wreath stencil set and some of my favorite Catherine Pooler ink colors. The card front is die cut from their Slimline Stitches die and I added a few strips of silver washi tape I had in my stash from years ago. The sentiment is from Stamp Simply's Farmhouse Simple Sentiments.

Next is a set of cards using the Garden Florals stencil set. These use my favorite ink colors from both Catherine Pooler and Gina K! I added a touch of stickles on the flowers, but next time I will stencil in some versamark ink and emboss with some glitter powder -how pretty that will be.

What about you? Have you tried the layering stencils yet? Are you in LOVE?!?  Am I just late to the stencil party? LOL!

Thanks for stopping by and have a great day!