Friday, January 16, 2026

Spellbinders Classic Pooh Baby Collection

 Hi crafty friends! Attention Winnie the Pooh lovers!! Spellbinders has a new baby themed add-on collection to their Classic Pooh stamps and dies. This release features 2 stamp with die sets, 1 3D embossing folder, 3 die sets and 2 foil and press plate sets. Check out what I made and scroll down for a complete supply list.
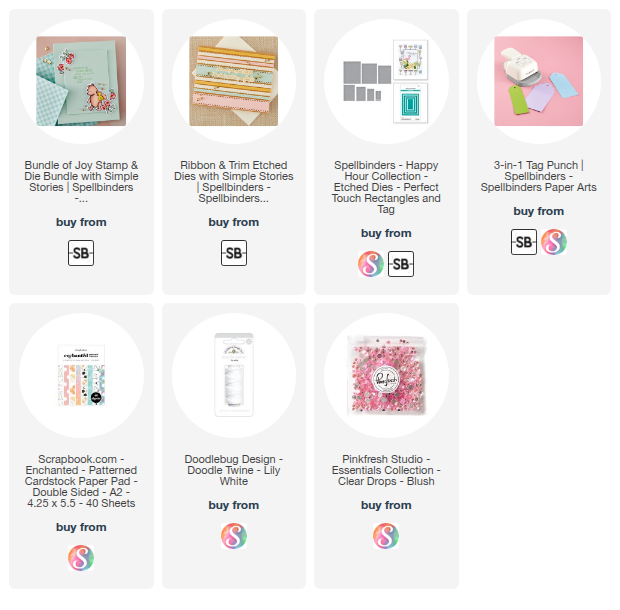
My card and tag duo uses the Bundle of Joy stamp and die setpatterned papers from the A2 Enchanted paper pad (which is Mickey Mouse themed but has perfect patterns for baby) by Scrapbook.com and the accents are from the Ribbon and Trim die set
I started my card by choosing a few pattern papers (and 1 solid) from the A2 Enchanted paper pad. The colors and patterns are perfect for a baby card! I used copics to color the flowers and hearts to match the papers. I used the Ribbon and Tr
 
Supplies used on this duo:
There are affiliate links in this post. This means if you shop with these, I will receive a small commission at no cost to you. If I've inspired you in some way I appreciate your support.
Thanks for stopping by and have a great day! 


Saturday, September 20, 2025

Hero Arts I Pick You collection, card and tag

Hi crafty friends! It's the 20th and that means Hero Arts released their September collections. I am sharing a card and matching tag using the I Pick You collection. This collection features 3 fall themed stamp sets with coordinating dies, an apple frame die set with a coordinating stencil set. 
πŸ’₯Check out what I made and scroll down for a complete supply list.πŸ’₯
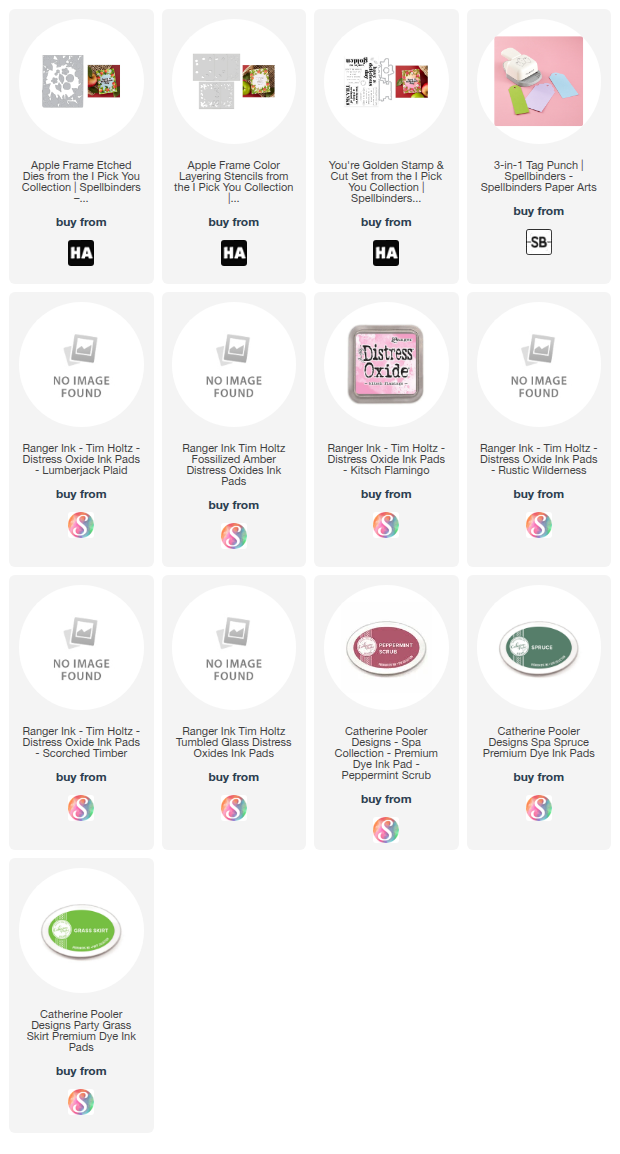
My card uses the Apple Frame die set, coordinating Color Layering stencil set and the sentiment is the You're Golden stamp and die set. I started out by ink blending my card base panel with Tumble Sky Distress Oxide ink, leaving the center portion white. 
I die cut the Apple Frame from Bristol Smooth cardstock and colored it in with the coordinating Color Layering Stencil set. See below list for all the inks, I used quite a few!
I die cut the apple blossoms, inked the edges with a soft pink and inked the stamens with yellow and added black dots to the tips. 
I made the tag using the 3-in-1 Tag Punch and all the leftovers I had from my card! It's a quick and easy to impress your giftee!! I love how these turned out.
 
Supplies used on this card and tag: 
There are affiliate links in this post. This means if you shop with these, I will receive a small commission at no cost to you. If I've inspired you in some way I appreciate your support.
Thank you for stopping by and have a great day! 


Wednesday, June 25, 2025

Spellbinders Say Cheese Classic Mouse, Part 2

  Hi crafty friends! CALLING ALL MICKEY MOUSE FANS!!! I'm back today with a card and tag duo using the Spellbinders Say Cheese Classic Mouse collection! This collection features 6 die sets, 1 BetterPress plate, and a variety of papers, ephemera and accessories in collaboration with Simple Stories. If you missed my first card, you can check it out HERE.
STEAMBOAT WILLIE DUO AND FRAME & SENTIMENTS

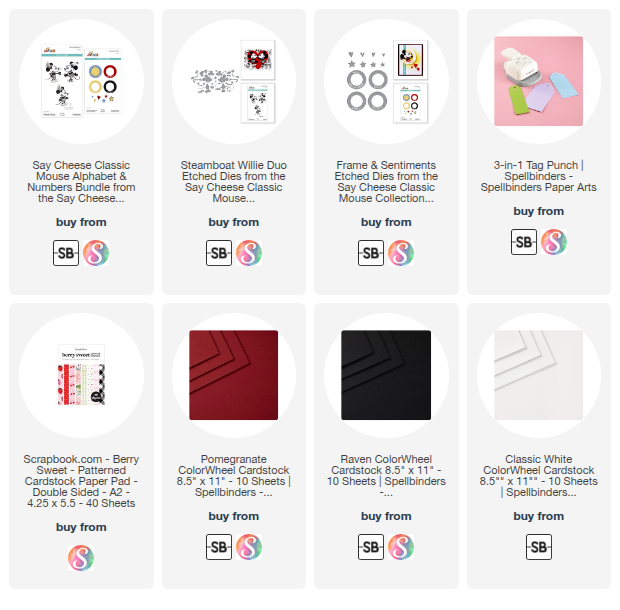
πŸ’₯My card and tag duo uses the Steamboat Willie Duo and Frame & Sentiments die sets.πŸ’₯
Steamboat Willie Duo die set: This has both Mickey and Minnie and is the cornerstone die set for the collection. Mickey and Minnie face each other, have multiple arm positions and work perfectly with all the other sets in the collection.
Frame & Sentiments die set: This has a circle frame and 4 fun sentiments to cut inside them. The frames are designed to fit the Alphabet and Numbers & Punctuation die sets. 
 
For my card background, I chose a black and white plaid paper from the Berry Sweet A2 paper pad. I die cut a Mickey and Minnie head and popped them up inside the "Well Hello There" and "Oh Boy!" frames. I die cut several stars as accents and a small twine bow to finish.
For the tag, I used the 3 and 1 Tag punch and some of the card left overs and a sentiment from my stash. I love how these turned out! Stay tuned for more inspiration from this collection.
Thank you for stopping by and have a great day!
 
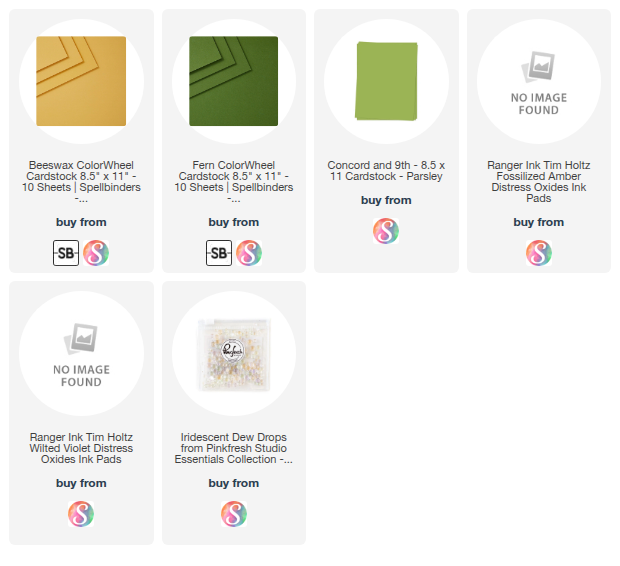
Products used on these cards:
These are affiliate links which means that if you shop with these, I will receive a small commission at no cost to you. If I've inspired you in some way I appreciate your support.


Tuesday, June 10, 2025

Spellbinders June release, La Dolce Vita Lemon card and tag

 Hi crafty friends! Today is release day for the Spellbinders June releases and I am sharing a card and tag using the La Dolce Vita collection. The fabulous lemons in the Citrus Spritz die set were calling to me!! Check out what I made and scroll down for the supplies used.
To start my card, I taped off stripes on Bristol Smooth cardstock and watercolored stripes with my Cornflower Blue Zig marker and my size 8 watercolor brush. The lemons, leaves and blooms are from the Citrus Spritz die set and my sentiment is from the La Dolce Vita Sentiments. I inked my lemon and flower die cuts and after arranging them, I added splatter with my Clear Shimmer Brush. I adhered the panel with 1mm foam squares slightly offset with some black and white striped pattern paper.
I used some leftover lemons and blooms and made a tag! I need to do this more, it's easy to do with the 3 and 1 Tag Punch and puts my left over die cuts to use instead of landing in a plastic baggie never to be seen again πŸ˜„
I love how these turned out! Stay tuned for more inspiration from the rest of the June releases!
Thank you for stopping by and have a great day!
 
Products used on these cards:
These are affiliate links which means that if you shop with these, I will receive a small commission at no cost to you. If I've inspired you in some way I appreciate your support.
 

Wednesday, January 15, 2025

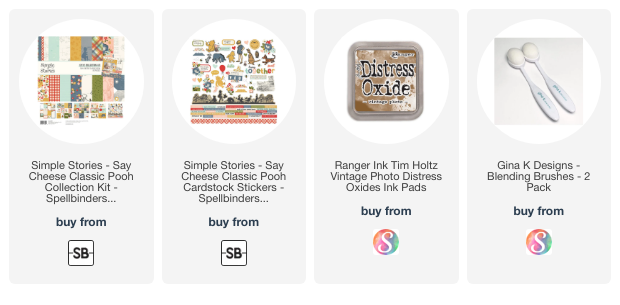
Say Cheese Classic Pooh, A Lovely Day card

 Hi crafty friends! Today I'm sharing another Winnie-the-Pooh card using the Collection Kit from the Spellbinders/Simple Stories Say Cheese Classic Pooh collection collab. This collection is huge! There are die sets, BetterPress plates, stamp set, ephemera, foam and chipboard stickers, 12x12 and 6x8 paper pads and MORE!
Note, you can also purchase this collection as well as each 12x12 sheet separately on Scrapbook.com!😍
For this card I went old school and did some sewing on it! I literally had to dust off my sewing machine! πŸ˜‚ I even inked the edges with a touch of Vintage Photo ink. My card uses paper, a tag, and a few stickers from the Collection Kit.
One of the 12x12 sheets from the collection is an array of tags, so I picked this cute one of Pooh and Piglet and cut it out. Note, you can purchase the 12x12 Tag Elements sheet by itself.
I made a white seam binding bow and added a few stickers and gems.
I love how this turned out. πŸ’–

Products used on this card:
These are affiliate links which means that if you shop with these, I will receive a small commission at no cost to you. If I've inspired you in some way I appreciate your support.
 Thanks for stopping by and have a great day!
 

Saturday, January 11, 2025

More Vivid Expressions, Hello Card and Tag

 Hi crafty friends! Today I'm sharing another card and matching tag from the Vivid Expressions collection by Spellbinders πŸ’™πŸ’œ
***And for all you Winnie the Pooh fans, Spellbinders launched the Say Cheese Classic Pooh collection! It's fabulous and stay tuned for some inspiration using it soon!
Check out what I made and scroll down for complete product list.
VIVID BLOOMS DIES AND SWEEPING SCRIPTS SENTIMENTS PRESS PLATES

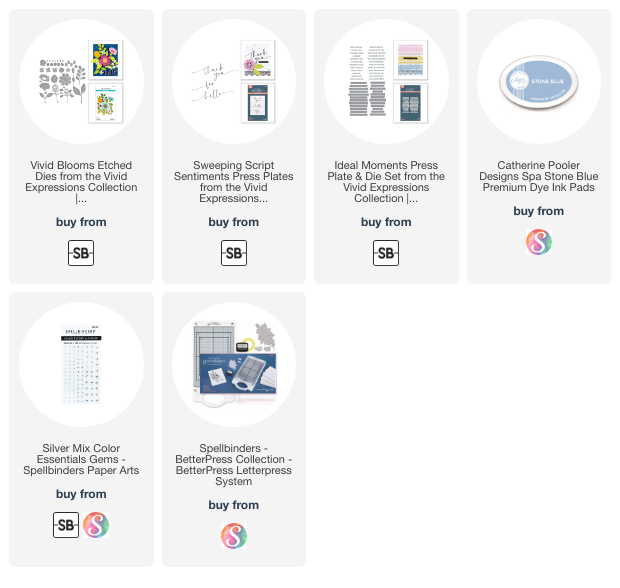
My card and tag use the Vivid Blooms die set and the Sweeping Script Sentiments press plates.
Both started with pressing the sentiments, Hello and You, in to white cardstock with Stone Blue ink. Because I wanted the sentiments offset at the bottom I pressed cardstock larger than needed so I could trim them at the right angle. I find this easier than trying to place the word on the plate backwards, kwim?
I added the flowers, ink splatter and gems around the sentiment. I love how this set turned out!

Products used on these:
These are affiliate links which means that if you shop with these, I will receive a small commission at no cost to you. If I've inspired you in some way I appreciate your support.
 Thanks for stopping by and have a great day!
 

Thursday, November 21, 2024

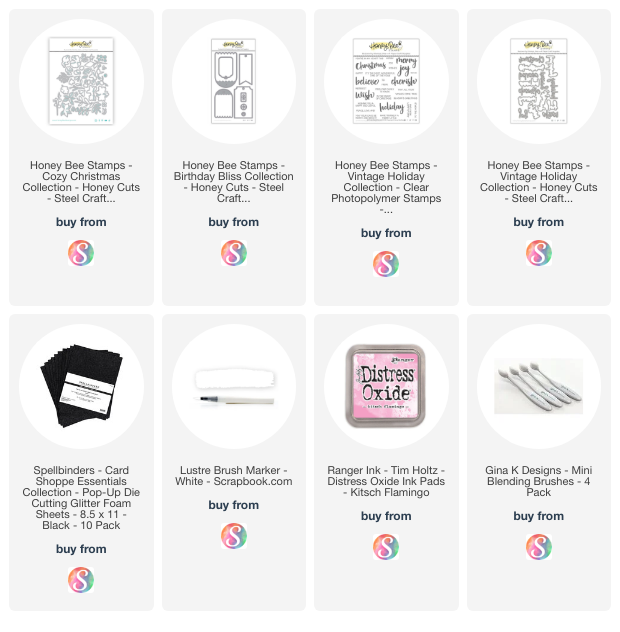
Honey Bee Stamps Mini Holiday Florals Poinsettia card and tag

Hi crafty friends! My obsession with poinsettia dies continues! Today's card and tag duo uses some pretties from Honey Bee Stamps. If you're new here, you can check out a few other poinsettia cards posted HERE and HERE.
The GORGEOUS poinsettias are from the Mini Holiday Florals die set. I die cut them from a very light pink cardstock (retired Pink Pirouette from SU!) and inked them with 2 shades of darker pink distress oxide ink for dimension and used some Snowtek on the petals. The centers are inked with yellow ink and then I added some yellow Glitter Brush marker for a pop of sparkle. 
The white splatter is made super easy with the White Lustre Brush by Scrapbookcom 😍

This adorable tag uses an extra poinsettia and greenery placed on a tag die cut from the Terrific Tags die set. Fun fact, I bought this die set over a year ago and finally remembered to bring it out to use πŸ˜‚
This cute tag is going to my growing stash! I put handmade tags on all of my Christmas packages. I even grab my favorites from the pile of wrapping papers headed for recycling to use again next year!
Please tell me I'm not the only one! LOL!

Supplies used on this cards:
These are affiliate links which means that if you shop with these, I will receive a small commission at no cost to you. If I've inspired you in some way I appreciate your support.
   
Thanks for stopping by and have a great day!

Sunday, September 22, 2024

Gina K Designs - Miss You a Latte shaker tag

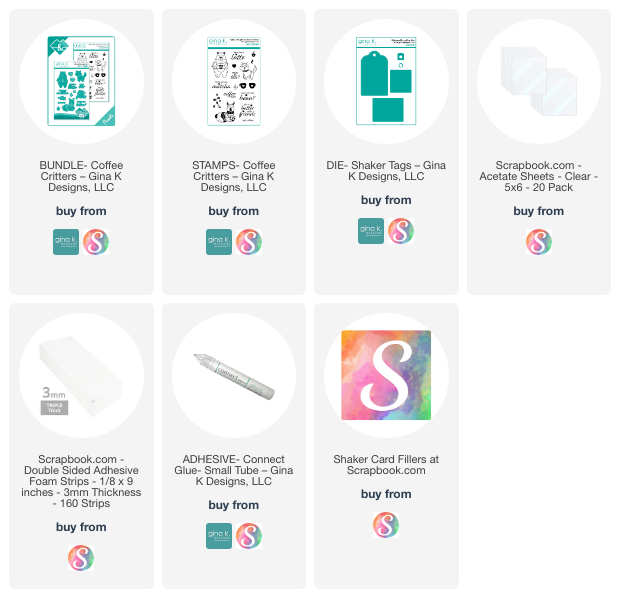
 Hi Crafty friends! I had so much fun making my small Christmas shaker tags that I wanted to make another! I recently placed a large order from Gina K Designs and it included the adorable Coffee Critters bundle and the Shaker Tag die set.
COFFEE CRITTERS AND SHAKER TAG DIE SET

I just love this cutie bear holding a coffee mug! He looks so dapper with his bright blue sweater and scarf paper pieced to match the tag front.

To make the shaker element, I used the 3mm foam strips. They are 1/8" and perfect for those thin places like the side of the rectangle. I filled my shaker element with sequins, crystal gems and some clay polymer pink hearts. I just love how this turned out!
 
Products used on this tag:
These are affiliate links which means that if you shop with these, I will receive a small commission at no cost to you. If I've inspired you in some way I appreciate your support. 
Thank you for stopping by and have a great day!
    

Thursday, September 19, 2024

Oh Joyful Day collection - Christmas Shaker Tags trio

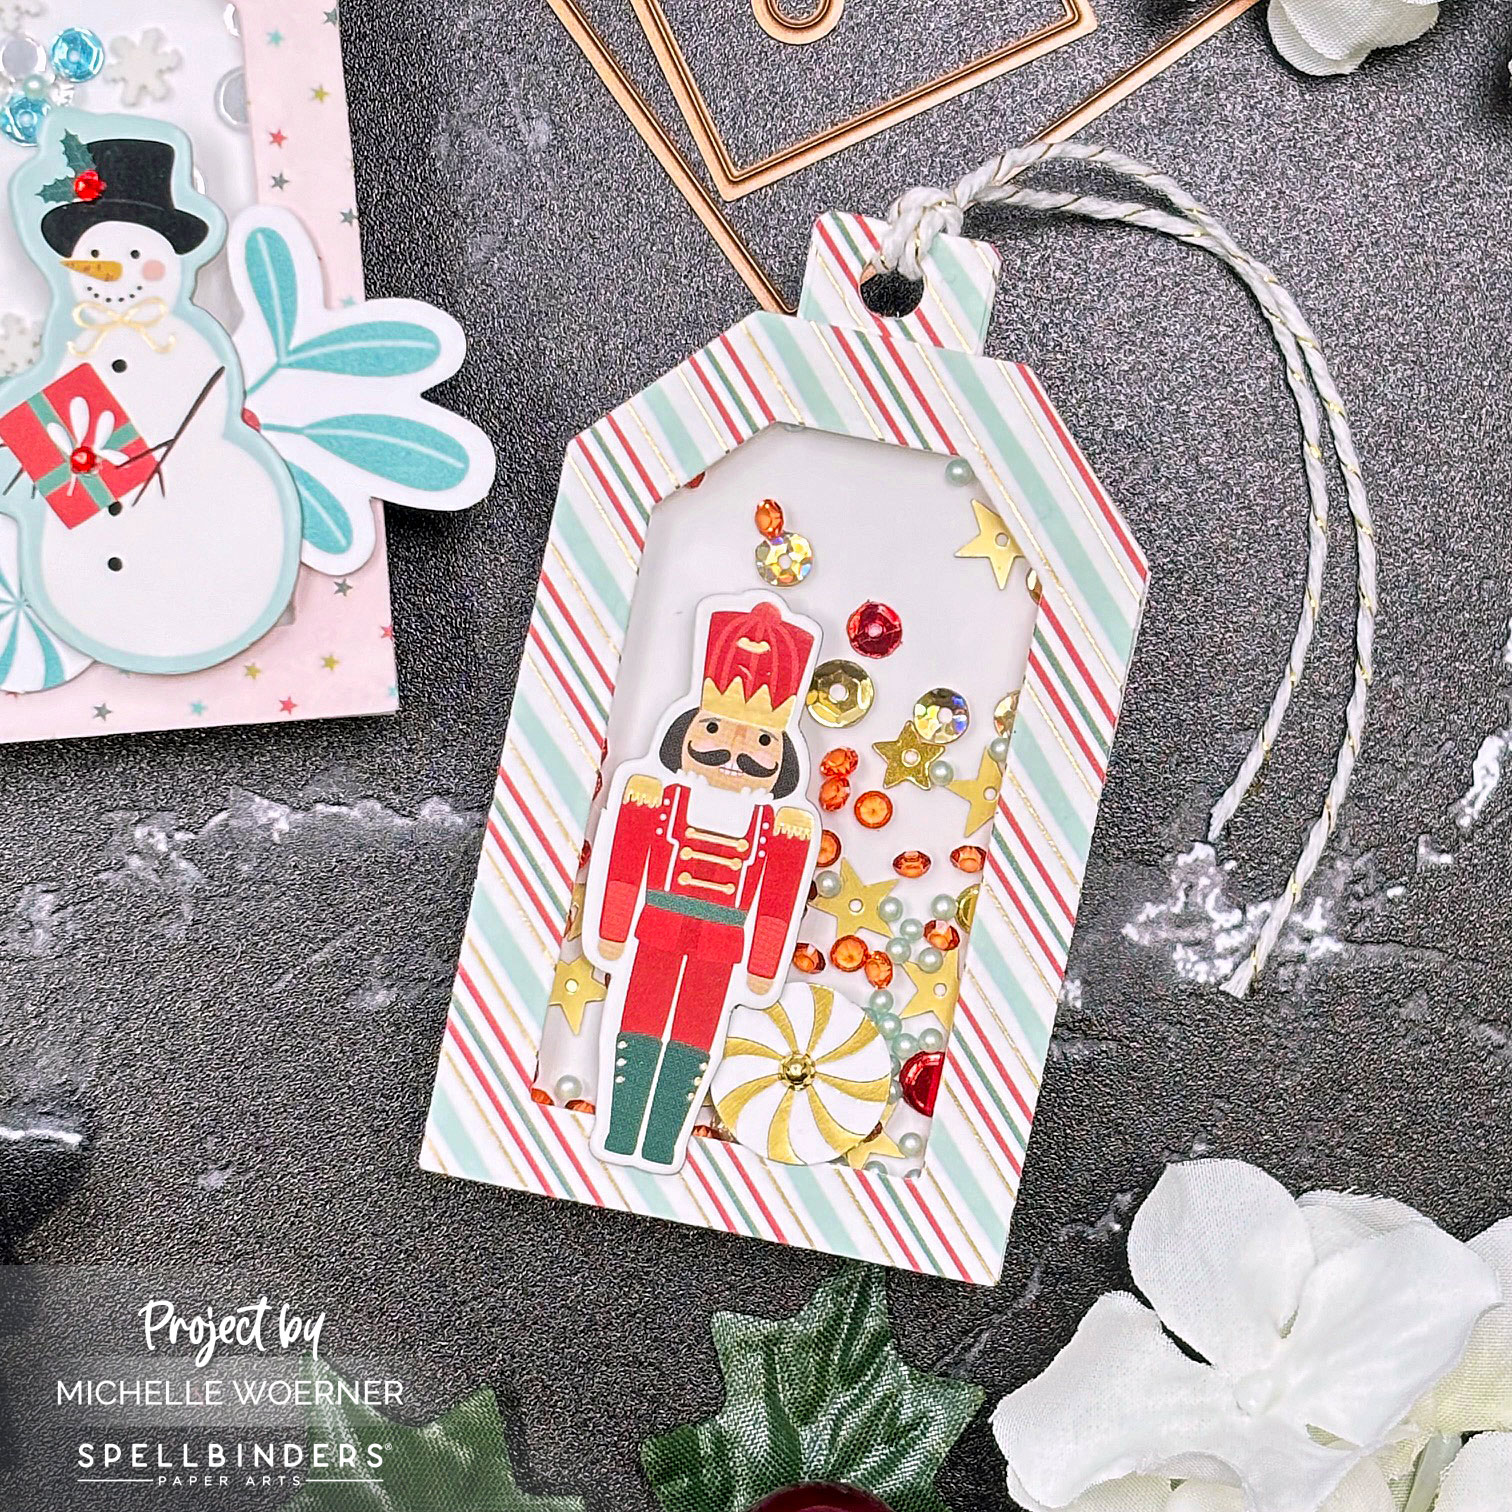
 Hi crafty friends! I have a trio of shaker Christmas tags to share today. As soon I saw the new tag die set from the Essentials Holiday collection from Spellbinders I just had to make a set of shaker tags! They are all decorated with elements from the new collection Oh Joyful Day which features a card making kit, Scrapbooking Kit and several individual addon products like sentiment stickers and chipboard embellishments.
ESSENTIAL TAGS DIE SET AND OH JOYFUL DAY COLLECTION
 
To make my shaker tags, I used the largest tag die from the new Essential Tags die set as the base. I made a frame with the largest and 3rd largest die. I then die cut the "twine tab" and adhered it at the top. I filled my tags with a variety of shaker elements from my stashI decorated the tags with elements from the Card Making kit and the Oh Joyful Day Cardstock Ephemera pack. I love love the colors in the collection and the ephemera! If you missed the cards I made using this collection, you can find them HERE.
Aren't these fun? There are so many elements in the kit you could make as many tags as your heart desires! 
Tag 1
Tag 2
Tag 3
It was hard to stop at just 3, but I have another fall wax seal card I'm working on and didn't want to get too distracted. I love how these turned out! 
Thank you so much for stopping by and have a great day!
 
Supplies used on these tags:
These are affiliate links which means that if you shop with these, I will receive a small commission at no cost to you. If I've inspired you in some way I appreciate your support.
 

Thursday, May 30, 2024

Spellbinders May 2024 NEW tools

 Hi everyone! Spellbinders has released 3 new tools this month! I have a few projects showcasing them. But first let me tell you a little bit about the tools.
 
Guillotine Paper Trimmer: 
This trimmer has a cutting space of 6.25 in x 8.5 in, rubberized feet and can be locked when not in use. The trimmer retails for $26.99.
------
3-in-1 Banner Punch:
 This punch makes three different sizes of banners: 1.5 in, 2 in, and 2.5 in width banners. You simply trim your cardstock to the width of those sizes, insert into the punch an then trim the banner to any length you want. The punch retails for $24.99.
------
3-in-1 Tag Punch:
 This punch makes three different sizes of tags: 1.5 in, 2 in, and 2.5 in width banners. You simply trim your cardstock to the width of those sizes, insert into the punch an then trim the banner to any length you want. The punch retails for $24.99.

Here are a couple tags I made with the new punches and some other new goodies from the Bayfair collection by Rosie's Studios. I am in love with these papers and all the pieces in the ephemera pack. They are gorgeous florals with a stunning color palette!
3-in-1 TAG AND BANNER PUNCHES

This tag uses both of the punches. The top is punched with the Tag Punch and the bottom with the Banner Punch. These are fun to mix around. I used papers from the Bayfair 6x6 paper pad and added a butterfly from the Sunset Butterflies pack and a BetterPress sentiment from my stash box.
This tag uses the Banner punch at the bottom. Again I used Bayfair 6x6 papers and a piece from the Bayfair Ephemera pack and a die cut sentiment from my stash box. I added some Clear Shimmer to the floral piece and sentiment.
 Next up is a card that uses more from the Bayfair collection.
I used the Nested Postage Labels & Tags die set to make that cute frame and I placed it over some patterned paper and used some more of the ephemera. Once again, I added some Clear Shimmer to the floral ephemera piece and I used a Glimmer sentiment from my stash box.
Supplies used on this cards:
These are affiliate links which means that if you shop with these, I will receive a small commission at no cost to you. If I've inspired you in some way I appreciate your support.
Thanks for stopping by and have a great day!
 
Thank you so much for stopping by and have a great day!

Wednesday, November 29, 2023

Scrapbook.com and WOW Embossing Parade -2 Shaker tag designs

Hi everyone! I have a fun post today. I am participating in the Scrapbook.com Wow Embossing Parade! Scrapbook.com now offers WOW Embossing products and to celebrate we tons of inspiration for you.
I made 2 shaker tags (and a bonus tag) each using the Scrapbook.com exclusive Home for Christmas stamp set, embossing powders by WOW, sentiments from Spellbinders Comfort and Joy Glimmer and the Nesting Tags die set by Waffle Flower.
Check out my shaker tags.
(Scroll down for complete product list)
To make Kitty With Presents tag, I stamped the tree image on white cardstock and embossed with Polished Silver EP. I then die cut it and the green patterned paper with a tag die. I die cut a rectangle from the center of the patterned paper and adhered a piece of acetate sheet to the back side of the opening. I stamped out the presents with colored inks and then embossed the presents "details" with Polished Silver EP
To make my Ornaments Tag, I reversed the order and used a piece of the patterned paper as the base and used some coordinating pink cardstock as the shaker top layer. I stamped and embossed the ornaments with Polished Silver EP and colored them with copic markers.
  **To fill each shaker tag, first I used quite a bit of the Cotton Candy Sparkles and added a few sequins and sparkle bits from my stash.
**To build the shaker tags, I used the BRAND NEW 1/4" 3mm thick foam adhesive roll around the edges of the bottom tag. The 3mm thickness is perfect for shaker projects because it's thicker than the standard 2mm adhesive that we use for our everyday use. The roll has 32 feet, so you get plenty of projects out of it!
**Shaker Tag Tip**
To help keep glitter, sparkles and sequins from sticking to your acetate, use some anti-static powder all over it. Nothing will keep glitter completely from sticking, but this helps it A LOT. I own and tested out 3 kinds of anti-static tools and my favorite is the one by Taylored Expressions.
Lastly, I made a BONUS TAG with some left over pieces and it ended up being my son's favorite! I embossed the tree image with the Polished Gold EP and I love how the gold shimmers on the peaceful green patterned paper. It just makes me smile!
 
πŸ’₯πŸ’₯Check out all of the WOW Embossing productsπŸ’₯πŸ’₯
AND
There are a couple great freebies offered with each Scrapbook.com purchase! So be sure to add them to your cart before you check out!

Supplies used on my tags:
-----
-----
Catherine Pooler inks in Cotton Candy, Mardis Gras and Minted
Embellishments: Gold and Silver pearls and Red Gems 
Ribbon, twine and sequins from stash
 
 Want to see more WOW Embossing inspiration? Head over to the Scrapbook.com Project Gallery for tons more ideas!
Thank you for stopping by and have a great day!
Links used in this post are affiliate links, which means when you shop with them I receive a small commission at no cost to you. Thank you for your support!