Monday, March 10, 2025

Spellbinders Gorgeous You collection - shaped gift card holder

 Hi crafty friends! Attention make up lovers! There is a new make up themed collection from Spellbinders called Gorgeous You. This collection features a make up bag, perfume bottle, a variety of make up items, florals, a 3D embossing folder and BetterPress sentiments. Definitely worth checking out 💜
I made a pretty shaped card/gift card holder. The die set is called Gorgeous You Make Up Bag and I accented it the Gorgeous You Florals die set. The make up bag die set creates the bag and the inside has gift card cut outs, there are a variety of elements to complete the bag like a clasp, zipper, tag and tassel. It is so so beautiful!
 Here is a look at the inside of the bag before I adhered it to the front. Simple and effective!
 
I think this die set would be perfect for bridesmaid thank you cards or for gift cards for the make up or perfume lover in your life! I just love how this turned out. Stay tuned, I have several more projects using this collection!
 
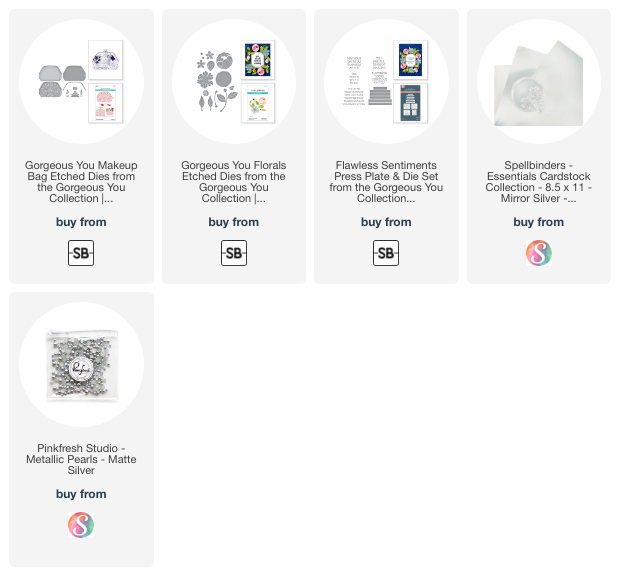
Products used on this card:
These are affiliate links which means that if you shop with these, I will receive a small commission at no cost to you. If I've inspired you in some way I appreciate your support.
 

Tuesday, September 24, 2024

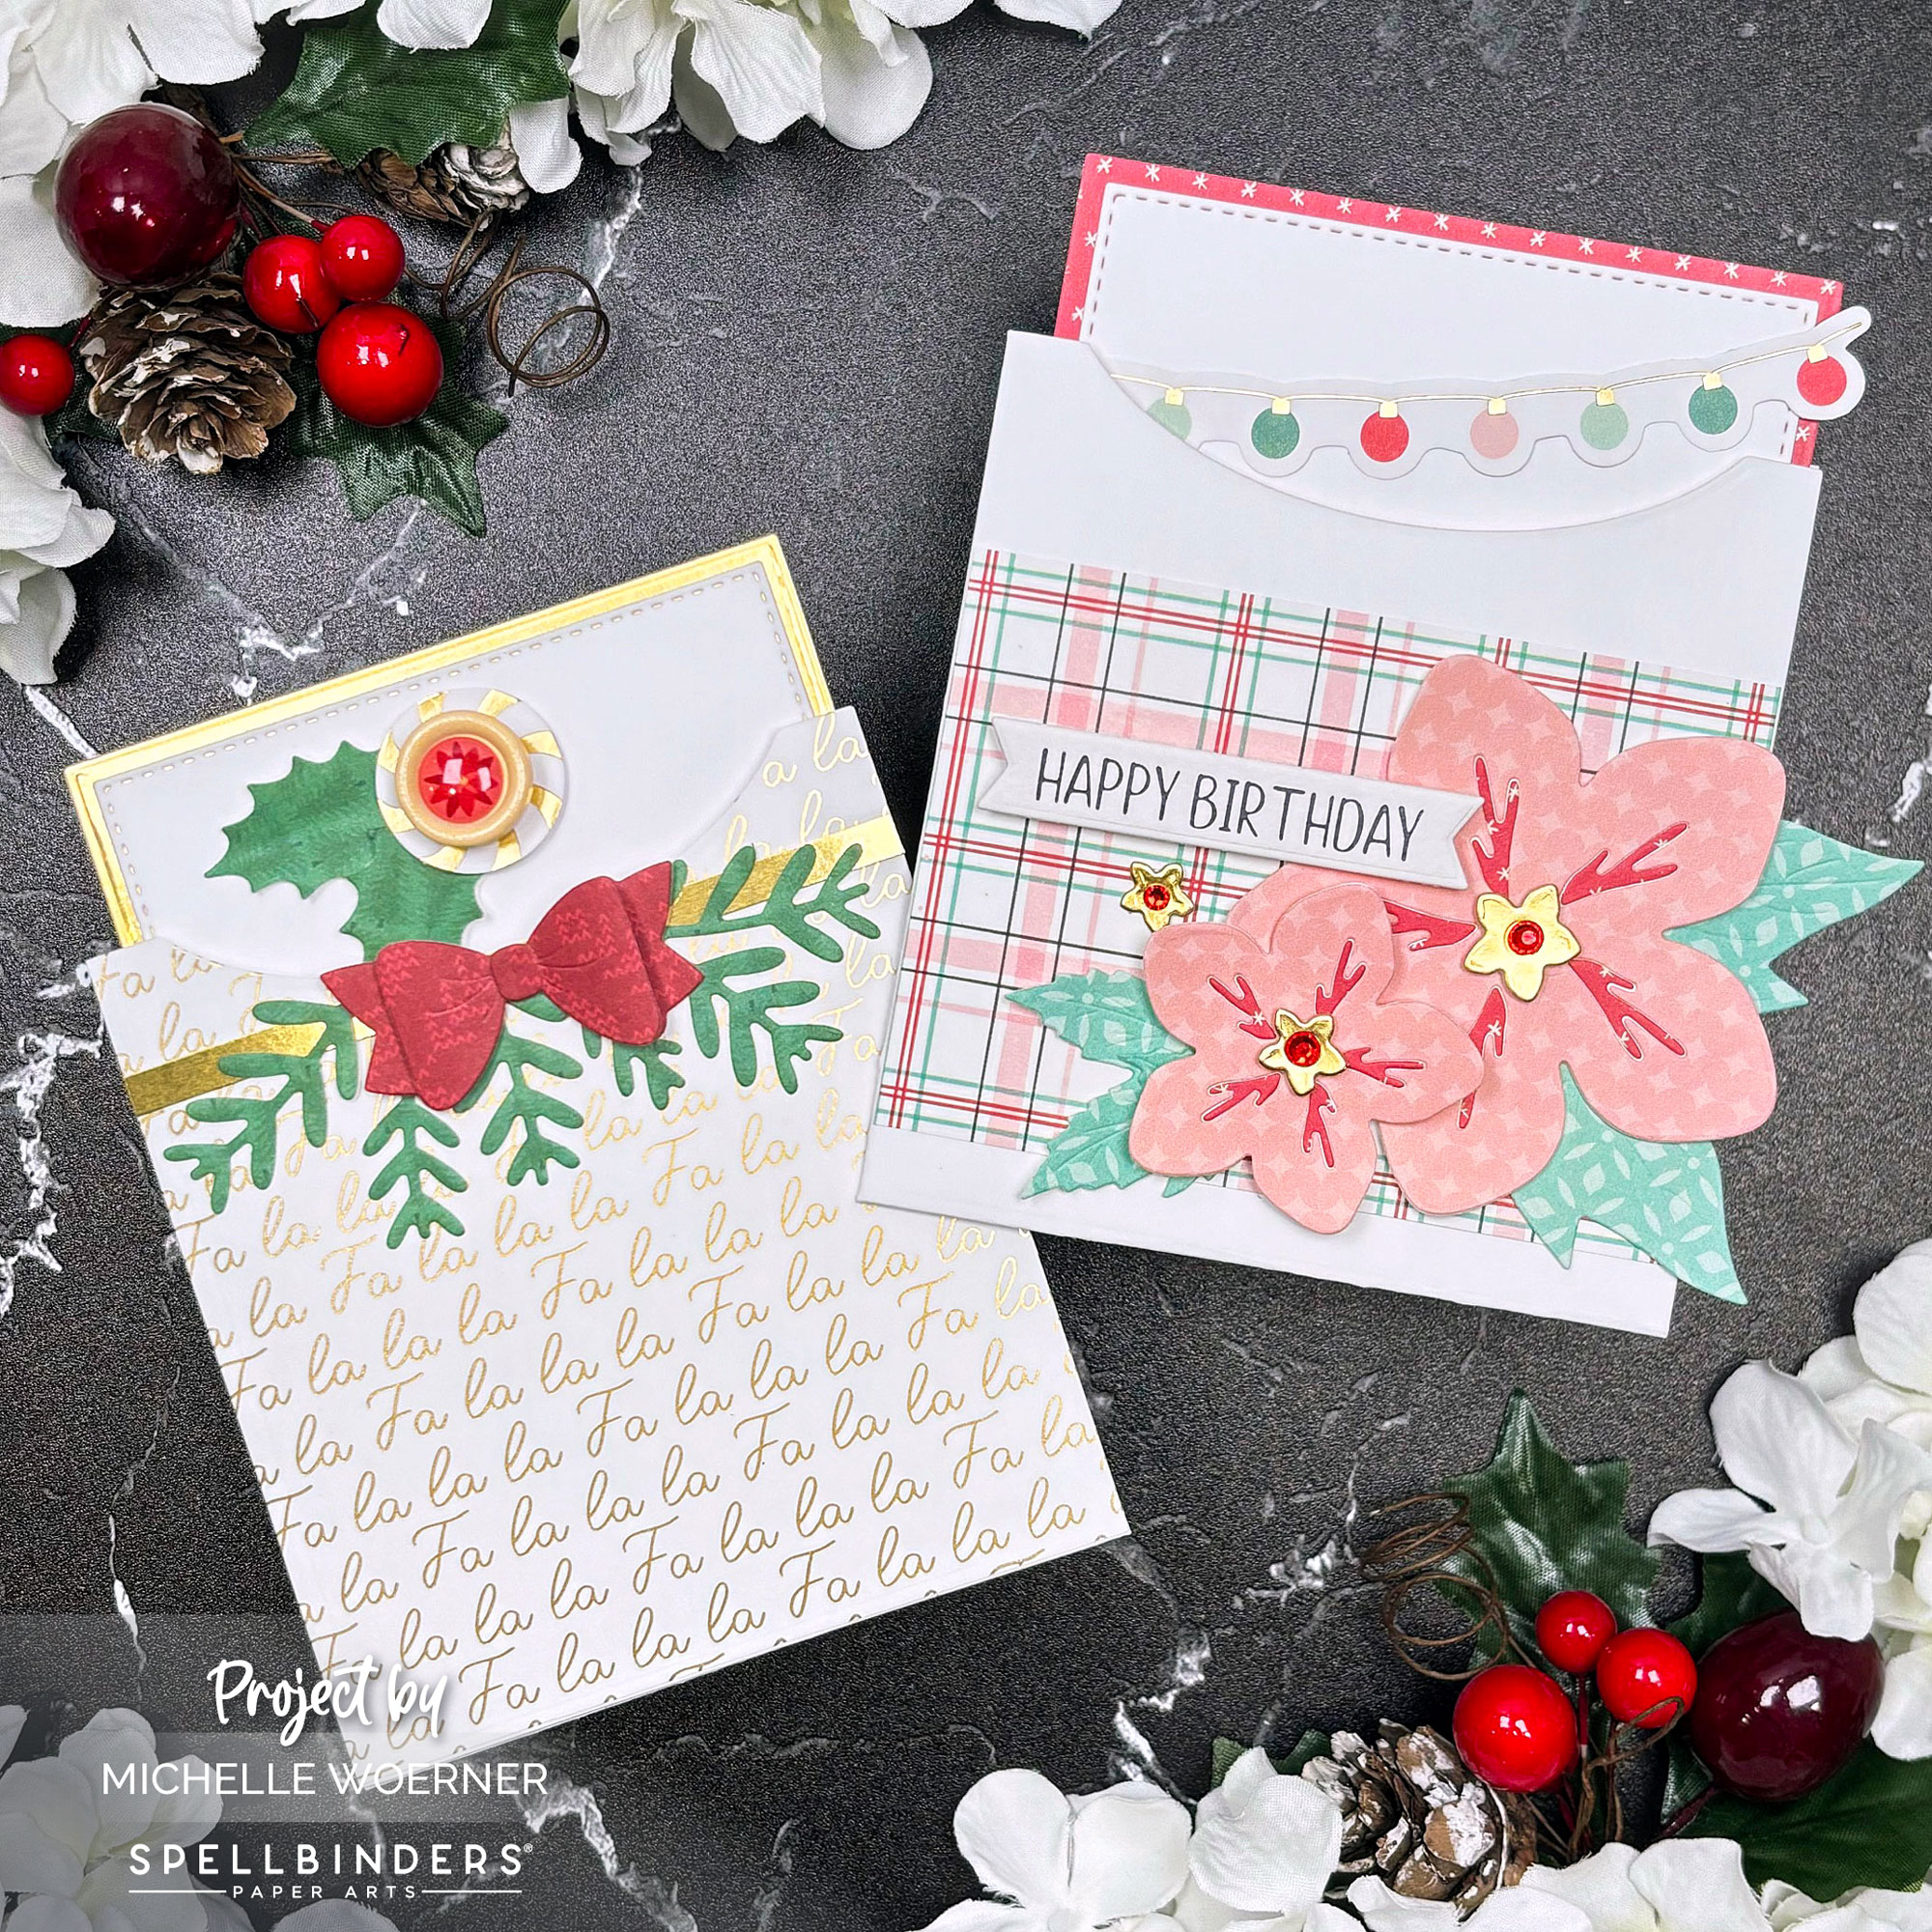
Christmas and Birthday Gift Card Envelope Pockets

 Hi crafty friends! I have a couple of gift card envelope pockets to share today. Spellbinders launched their Not Your Ordinary Card collection as part of their September release!
This collection features this cute envelope die set; Birthday, Halloween and Christmas add-on die sets; and a build-a-plaid stencil set!
ESSENTIAL ENVELOPE AND CHRISTMAS ADD-ONS DIE SET
 
I used the Essential Envelope die set for both my gift card pockets and the Christmas Add-Ons die set for the Christmas themed pocket. I decorated both with elements from the Oh Joyful Day card Making kit and the Oh Joyful Day Cardstock Ephemera pack. I love love the colors in the collection and the ephemera and I managed to find some elements that worked perfectly for birthday!
These gift card envelope pockets are SO versatile and can be made for any gifting occasion.

Christmas gift card envelope pocket:
Birthday gift card envelope pocket:

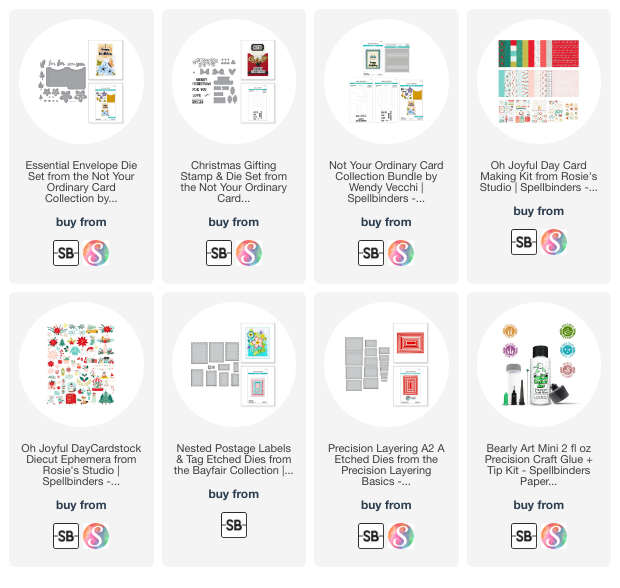
Supplies used on these tags:
These are affiliate links which means that if you shop with these, I will receive a small commission at no cost to you. If I've inspired you in some way I appreciate your support.
 

Thanks so much for stopping by and have a great day!

Friday, May 3, 2019

Spring | Summer Coffee Lover's Blog Hop


Hi everyone and welcome to the 2019 Spring|Summer Coffee Lover's Blog Hop!
I love all things coffee and excited to play along in this blog hop! This hop is HUGE with many sponsors and prizes up for grabs! To enter to win you need to make a new Spring or Summer themed coffee/tea/cocoa project and link it to the Coffee Lovers blog.
To make the pretty butterfly java mug, I used the amazing A Cup of Java die set!!!  First, I die cut the mug from water color paper then I stamped on the butterflies. The gorgeous butterflies are from the Altenew set, Painted Butterflies which is a 3 step stamping set, but you can easily water color the first stamp of each image.
To water color your images, you don't need to invest in water color paints or pans! I colored the butterflies with some distress inks. It's super easy just tap your ink pad on to a solid surface, spritz with some water and dip your brush in. Easy peasy!
I chose the inks in Peacock Feathers, Spiced Marmalade and Worn Lipstick for my colors. I chose these because when the blue and red tones mix, they make purple and when the yellow and red tones mix, they make orange! You need to be mindful when you place water colors by each other they don't bleed and make brown. Unless that's the color you're looking for!

To make things fun, I turned the inside into a surprise GIFT CARD HOLDER!
It was so easy to do with only 2 steps!
Step 1: Trim a piece of cardstock (mine is 1.5" x 4")
Step 2: Adhere 1/8" Scor-Tape along the sides and bottom
I decorated the gift card panel with some stamping and a die cut butterfly. Cute, without being too much. Clean and simple.

Note: this is smaller than an A2 size card. This measures 4.25" x 3.25".

Be sure to head on over to The Stamp Simply Ribbon Store who is one of the many SUPER SPONSORS for this hop. There is a fun video posted there I made sharing a water coloring technique!!
Thanks for stopping by and have a great day!
Other supplies used:
Clear sequins
Stamp Simply Steel Dies - A Cup of Java
Black silk -Fun Stampers Journey
Number 1 round water color brush -Princeton
Soft Stone and Black cardstock -PaperTrey Ink
Bee water color paper
Echo Park 6 x 6 - Coffee paper pack

Saturday, March 30, 2019

New JAVA stamps and dies -Stamp Simply Clear Stamps

Hi everyone! I have a fun project to share today featuring brand new stamp and die sets from Stamp Simply Clear Stamps. The stamp set is called A Cup of Java and the die set is called Java. They coordinate with each other, but can stand on their own and will coordinate with any coffee stamps and dies you already have in your collection!
I made a gift card holder using some papers from the Rosabella paper pad from Kaisercraft and added a few hearts from the Farmhouse Pierced Nested Hearts die set and of course, some coral faux canvas ribbon which is part of the Living Coral Ribbon Sampler.
Here's the inside of the gift card holder. Super adorable with that mug! I die cut the steam piece 3 times and used it as decoration.
The gift card holder is pretty easy to make with only 5 steps:
1. Trim 12x12 cardstock to 4.25" x 9" (If you don't have 12x12, you can use 8.5" and adjust the scored lines by 1/4")
2. Score 2 lines at the 3" and 6" mark
3. Fold at the scored lines and trim the right end panel at a diagonal 
4. Using 1/4" scor-tape (or similar) adhere across the bottom and up the inside corner
5. For the belly band, trim cardstock 1" x 6.5", score 2" and 5" mark and adhere where it overlaps around the back
Here's the complete stamp and die set, aren't they the cutest?!?
Thanks for stopping by and be sure to check out the Stamp Simply Ribbon Store Facebook page throughout the week for more Java inspiration!

Thursday, September 6, 2018

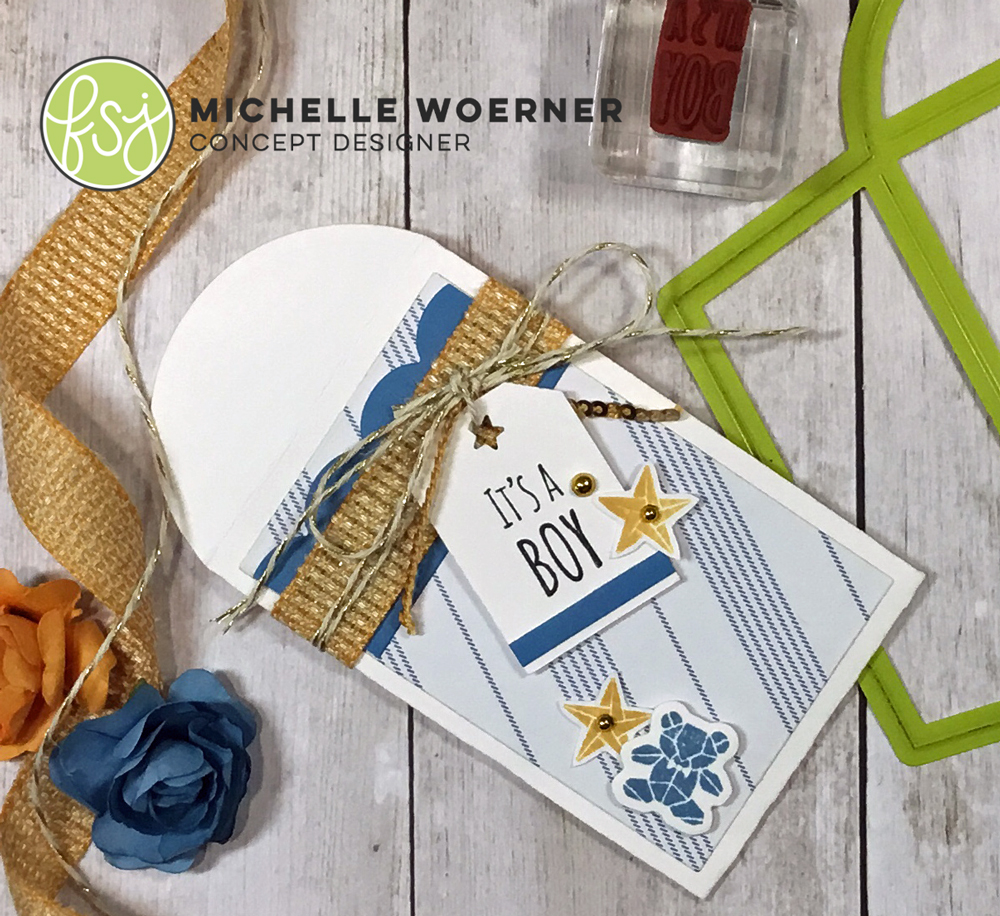
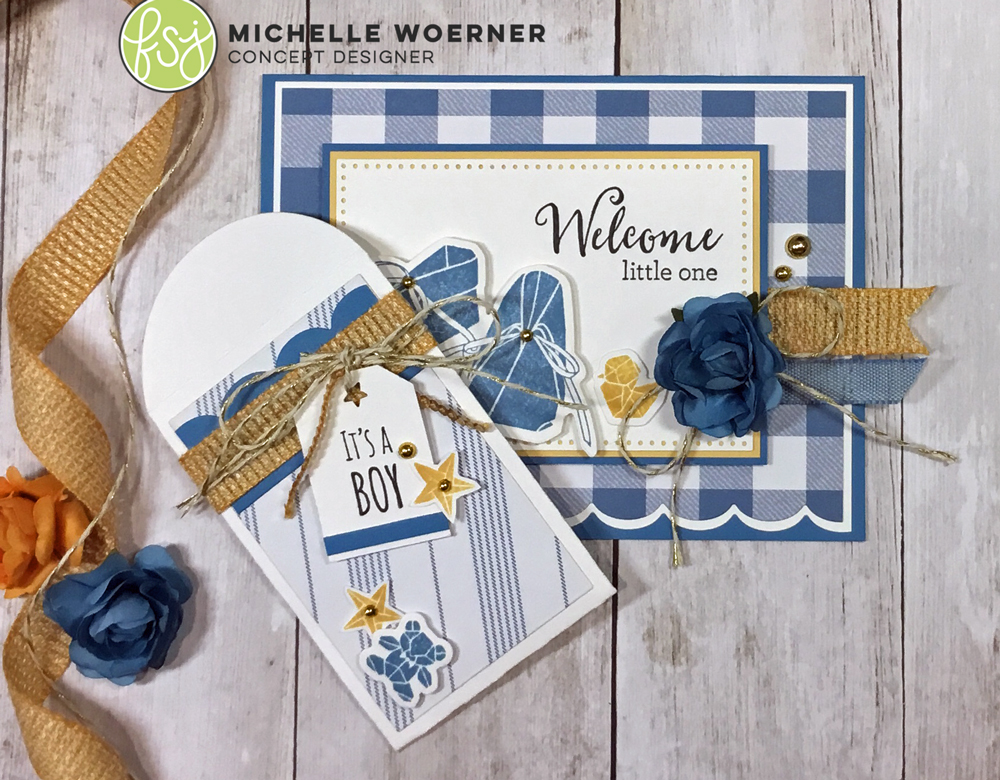
It's a Boy!

Hi everyone!  Since Bill and I both turned 50 this year I kinda figured my making Welcome Baby cards were a thing of the past (for an actual baby, not just for my job), but NO! One of Bill's co-workers is expecting a boy at the end of the month and I am so excited to make a baby card for her!
I used the new stamp set Pitter Patter and combined it with a few items from The Good Life collection.  I used two of the new ribbons Sweet Haystack and Cotton Chambray Shirt. I love that both have some texture to them! And of course, what baby card is complete without some flowers! I used the blue one from the Meadow Flowers pack.

We were on vacation during her baby shower, so at this point we thought a gift card was the way to go. Now they can get whatever they still need for their baby boy, so I made a coordinating gift card holder with our die Gift Card Sleeve die.
I made the sentiment tag from our Tag Time Punch and used the Star Punch to make the opening at the top. So fun!!
Thanks for stopping by and have a great day!!
P.S. If you want more information on how to use the Gift Card Sleeve die, check out the Product Spotlight video I did for it.

All products used are Fun Stampers Journey.


Monday, December 21, 2009

Monday H{ippity} Hop

Hi everyone! It's Monday and time for another H{ippity} Hop! It's my first hop as a member of the DT! Be sure to go to the {ippity} blog to see the master list.

My project is also for this week's H{ippity} Hop challenge from our gal, Eva, which is to make a gift card holder. Believe it or not, I have never done this. So I used a template from Tori Wild that I found through Julee's blog! Man, I love the resources you can find on blogs!!I started by chosing the pattern paper, I sooooo love this Early Bird by Cosmo Cricket. I think it's my FAVORITE paper from 2009! I used the frame image and sentiment from {ippity}'s Just Wanted to Say set. With this frame image, you don't need to have the Nestabilities to create frames, just stamp and cut it out!! I accidentally stamped the sentiment slightly off the center, so I added a small cut out flower from a piece of the pattern paper for some balance. I also cut out a flower/leaves to accent the inside.

The ribbon is some twill that I bought at Big Lots a long time ago for $1 and now it's all the rage! What up? LOVE it when that happens!! Here is a detail picture. Thanks for stopping by and be sure to hop around and check out all the {ippity} goodness!!

P.S. Straight from The Heart sets are in stock now! Just in time for Valentine's cards. AND I made up a special Valentine's cardmaking kit, check out all the deets on my Ippity bloggy.

Card Deets:
Stamps - Because of You, Just Wanted to Say ({ippity} stamps)
Ink - Chocolate Chip, Ridinghood Red
Paper - Vintage Cream, Ridinghood Red, Early Bird pattern paper
Accessories - twill, rhinestones, button from the Fire Engine collection

Photobucket