Thursday, December 4, 2025

Throwback Thursday: Spellbinders Be Bold Blooms split cards

Hi crafty friends! Welcome to another Throwback Thursday. Today I am sharing cards from my ALL TIME most popular blog post from February 2022, cards using the fabulous Be Bold Blooms die set by Spellbinders.
I used the split card technique where I make a pencil mark along the center of 8.5" x 5.5" piece of white cardstock and arrange the blooms along the center. Cut in half and you have the start for 2 cards! I did this technique a few times since and I love how they turn out!
TIP: One thing I will do differently next time - not use as many layers for the flower centers. Some had 4 layers and they were very hard to cut through.
I just love how this die set is as beautiful and popular now as it was almost 4 years ago!! 
Supplies used on this card: 
There are affiliate links in this post. This means if you shop with these, I will receive a small commission at no cost to you. If I've inspired you in some way I appreciate your support.
Thank you for stopping by and have a great day!
  

Thursday, June 19, 2025

Heartfelt Sympathy BetterPress card

 Hi crafty friends! I have a beautiful sympathy card to share today using one of the BetterPress Copperplates from the Happy Everything Sentiments collection. This collection is designed by Paul Antonio for Spellbinders and features 3 BetterPress sets with Paul's signature script font.
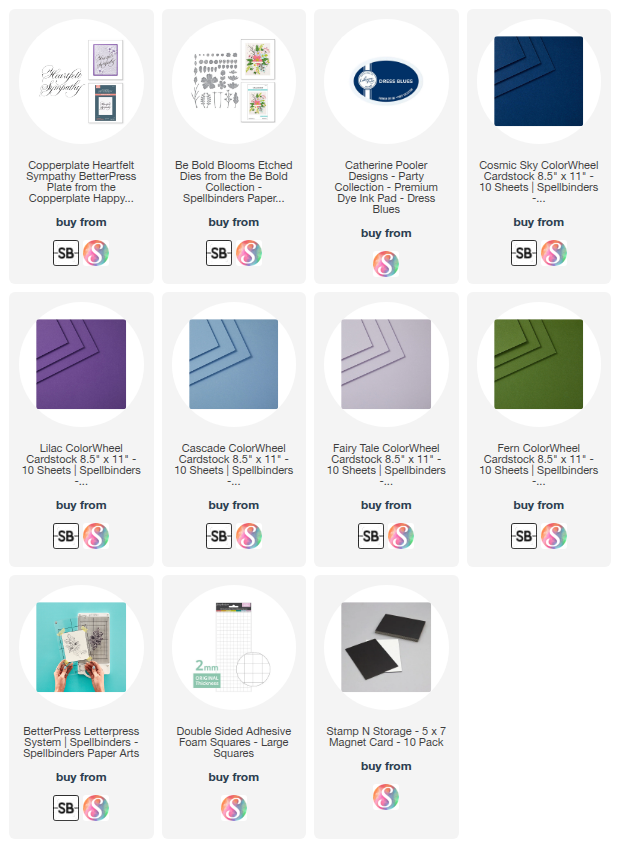
My card uses the Heartfelt Sympathy press plate and I have inked it with a rich royal blue ink. What I love about press plates is they can be inked or foiled with a Glimmer machine. You can find my last example of foiling one of Paul's wonderful press plates here.
I think the elegant font from this collection looks so pretty framed with flowers from my beloved Be Bold Blooms die set. I chose to use the color blue with pops of purple. I love how this turned out. 
  
Products used on this card:
These are affiliate links which means that if you shop with these, I will receive a small commission at no cost to you. If I've inspired you in some way I appreciate your support.
Thanks for stopping by and have a great day!


Monday, April 28, 2025

Flower Mini 3D Wax Seal Thinking of You Card

 Hi crafty friends! I have a fun card to share today. Even though I no longer receive the Spellbinders Wax Seal of the Month club, I still really do love working with wax seals! And this month Spellbinders came out with MINI 3D wax seals and they are stunning! 3D wax seals really do have amazing depth.
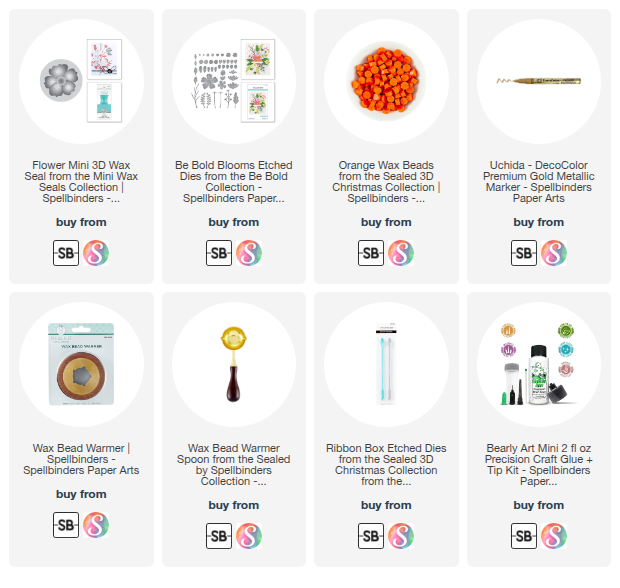
The Mini 3D Wax Seals collection has 5 designs and I used the Flower Mini 3D wax seal for my card. These wax seal stamps are 1/2" in diameter, which is half the size of a standard wax seal. You only need to melt 2 wax beads for this size.
I wanted to branch out with different colors on this card, so I went with a few shades of orange. I thought the flower design wax seal would go perfectly on a flower card, so I pulled out my beloved Be Bold Blooms die set and started die cutting! For the background, I used my much neglected Zig Zag Chevron card front die and inlaid a few strips of a light and dark orange cardstock.
I had a few sentiments left over from the Crafty Hugs Sentiments and Thinking of You fit perfectly. Lastly, I added few gold pearls accents which complimented the gold pen accents on my wax seal. I love how this turned out!
------------------
I also wanted to let you know that the Spellbinders Weekender 2025 Craft Kit & Virtual Retreat is available NOW!! It's a 2-day crafty getaway on May 30-31st. It has a value of over $500 for the cost of $149, which is a better value than 2024.
It will have 6 classes and bonus content featuring: Jennifer McGuire, Cathy Zielske, Jaycee Gaspar, Yana Smakula, Channin Pelletier and Kim Kesti! Head over and check it out HERE!
------------------
Products used on this card:
These are affiliate links which means that if you shop with these, I will receive a small commission at no cost to you. If I've inspired you in some way I appreciate your support.
 Thanks for stopping by and have a great day!
 

Friday, April 11, 2025

Spellbinders DIY Color Deck System, Day 2 Inspiration

 
 Hi crafty friends! Welcome to Day 2 of inspiration for the new DIY Color Deck system from Spellbinders. From the website: Make color your own with the new DIY Color Deck! Designed to inspire creativity, each of the 52 cards in the DIY Color Deck includes an image of a stunning art piece with 5 blank spaces for swatching custom color combinations. The other side of the cards feature fun facts, creative prompts and bonus education about color theory.
 Here is today's inspiration! Scroll down for supplies used.
 I was drawn to the gorgeous pinks, purples and pops of blues in this image. The colors I chose were Fairytale, Lavender, Celestial, Mulberry and Violet. And for my card I brought out my favorite flower die set, Be Bold Blooms.
The DIY Color Deck Builder Bundle contains the DIY Color Deck, 1" square punch and the 8.5x11.5" Full Colorwheel cardstock assortment. You can also purchase each of these on their own. Here's a look at the system.
So what do you think? Do you have the Color Cubes already? Is there a place for both? Let me know if the DIY Color Deck is something you would use. Stay tuned, I have 1 more inspiration card to post!
  
Supplies used on this card:
This post contains affiliate links. Meaning if you shop with these links I get a small commission at no cost to you. If I have inspired you, I would love you to shop with my links💖
 

Tuesday, March 11, 2025

To The Lovely Couple Wedding Card

 Hi crafty friends! This stunning wedding day sentiment is part of the Copperplate On Your Wedding Day collection designed by Paul Antonio for Spellbinders. This collection has 4 beautiful wedding themed BetterPress plate sets.
To the Lovely Couple plate and Be Bold Blooms die set
 
I heat foiled the sentiment with the Lavender Petal foil. This is a gorgeous purple color and keeping with purples, I accented the upper and lower corners with flowers from my favorite floral die set, Be Bold Blooms.
The font in this collection is so elegant, absolutely perfect for weddings! I chose to use purples, but it would be amazing to make the card in the wedding colors of the couple! I love how this turned out. Thanks for stopping by and have a great day!

Products used on this card:
These are affiliate links which means that if you shop with these, I will receive a small commission at no cost to you. If I've inspired you in some way I appreciate your support.
 

Wednesday, August 21, 2024

Spellbinders Small Die of the Month

 Hi everyone! August has flown by and I almost forgot to make a card using the Spellbinders Small Die of the Month! This month the die set is called Colorful Expressions Sentiments and features 17 words with outline dies.
AUGUST SMALL DIE OF THE MONTH AND BE BOLD BLOOMS DIE SET

These sentiments will be a staple in your collection. I used them in a slightly different way. I die cut them from white cardstock and lightly inked them with light blue ink and used them as a background for a few simple flowers from the Be Bold Blooms die set.
Supplies used on these cards:
These are affiliate links which means that if you shop with these, I will receive a small commission at no cost to you. If I've inspired you in some way I appreciate your support.

 Thanks for stopping by and have a great day!
 

Wednesday, July 3, 2024

Spellbinders Tunnel Scapes Collection: Bold bright blooms

 Hi everyone! I am excited to share a bright bold floral card made with one of the sets from the brand new Tunnel Scapes Collection released in June from Spellbinders.  This collection features 6 die sets with an innovative layering concept to give a "tunnel" depth along with a coordinating sentiment stamp set. 
RAINBOW SLICE TUNNEL DIE SET
 
I used the Rainbow Slice Tunnel die set for my card. This die set creates 4 layers of "slices" or V-shape. I die cut the V layers in black, hot pink, and white cardstock covered with the fun Dotted washi tape, and white cardstock. It took me a minute to figure out the order of the layers, but ended up layering them with the smallest V at the bottom and the largest at the top. I embossed the top layer with the Tiny Dots embossing folder for some texture and a nod to the dots on the washi tape.
Initially my idea was to make the 4 V-shape layers in black, gray, black and white dotted, and  white and contrast them with flowers in bright colors. But on a whim, I subbed out the gray for the same hot pink as my flowers and I really loved how it looked.
I wanted a larger flower to be at the top of my V-shape slices, so I pulled out my favorite flower die set, the Be Bold Blooms die set and used the largest bloom as my anchor piece. The rest of the flowers and all the leaves are from the same Rainbow Slice Tunnel die set. I heat embossed the sentiment in white on black cardstock. I really love how this card turned out!

Supplies used on this card:
These are affiliate links which means that if you shop with these, I will receive a small commission at no cost to you. If I've inspired you in some way I appreciate your support.
 
If you have a chance, be sure to check out the entire collection by clicking HERE. It's a really cool concept with endless possibilities. Stay tuned for another card using this collection!

Thanks for stopping by and have a great day!

Thursday, April 25, 2024

Spellbinders Sprigs Registration press plate: Cheers to Colors

 Hi everyone! I have a fun card to share today. I used the Sprigs Registration Press Plate by Spellbinders. This is part of the Cheers to You collection. This set comes with a registration template which gives perfect placement and allows multiple ink colors to be used with the BetterPress!
SPRIGS REGISTRATION AND CHEERS TO YOU SENTIMENTS PRESS PLATES

The "Cheers to You" sentiment I used is one of the 7 sentiments in the Cheers to You Sentiments press plate and die set. I love the font for these sentiments AND I really love how they are on 1 plate and the matching die is also 1 die. This system is a game changer for sentiments! This sentiment set will be one of my go-tos!

This is my first time working with multiple inks and the Registration template system. The color palette I chose was outside the BetterPress ink colors I own, so I used full size ink pads from Catherine Pooler and Concord and 9th. Not gonna lie, getting the hang of using these with the press plates took a few tries, was super messy and now I TOTALLY understand why the BetterPress Inks are a smaller size. But woweeee it was worth it! Look at the results.
 
Supplies used on this card:
---
 ---
---
 ---
Catherine Pooler inks in Pixi Dust, Grape Crush and Day Dream
Concord and 9th ink in Sea Glass
S-Lon bead cord from stash

Thanks for stopping by and have a great day!!

Thursday, February 8, 2024

Spellbinders | February Wax Seal and Small Die of the month

 Hi everyone! I'm back home and have 2 cards to share using the Small Die of the MonthStencil of the Month and Wax Seal of the Month February club kits by Spellbinders.
FEBRUARY SMALL DIE OF THE MONTH

February's Small Die of the Month is called Rain Boot Bouquet and features a rain boot with a variety of spring flowers! Super cute with so many possibilities. I mean rain boots come in every color and pattern.
I chose to make a neutral gray boot with brown soles and placed inside bright white daffodils, hot pink tulips and tiny flowers with pops of blue! I kept things simple by using a piece of springy gingham patterned paper as the background. I added Star Dust Stickles to the flower centers for that extra pop of sparkle.
FEBRUARY WAX SEAL AND STENCIL OF THE MONTH
 
This card uses my beloved Be Bold Blooms die set flowers and I placed them over a lightly stenciled background and it features the Wax Seal of the month which is called Lily of the Valley.
For the stenciled background, I used one of 4 floral background stencils from the Stencil of the Month which is called Spring Stencil Backgrounds. You can see my other card using a different stencil on this blog post.
I used Rustic Wilderness distress oxide ink with the stencil as it matched the Fern wax beads which were included in the Wax Seal kit. I die cut the flowers and greenery from rich colors that I thought complimented the Fern wax seal. I added hints of gold to the flowers and gold pen to the details on the wax seal.

Card supplies used on these cards:
Hexi-Gem Glimmer Sentiments (for Congratulations)
Wonderful Script Sentiments die set (for Hello)
Star Dust Stickles
Gold Pearls
Fern Wax beads
Spellbinders Sage cardstock
White twine from stash

Thanks for stopping by and have a great day!

Thursday, October 12, 2023

Be Bold Blooms happy birthday and a new machine for Gina K!

 Hi everyone! This time of year I start to make cards sets that I give away as Christmas gifts. Today's birthday card will be the start of a card set that uses my beloved Be Bold Blooms die set with the gorgeous patterned papers in the Morning Memories pack by Paper Rose.
 It was fairly simple to put together. I cut a strip of patterned paper, die cut the flowers from some of the solid patterns and the leaves and stems were cut from cardstock. To add a bit of dimension to the flowers, I blended a little ink (I'll list the colors below). The sentiment was one from my pre-foiled stash of sentiments.
***Did you catch the announcement by Gina?***
Today Gina K Designs launched her very own Fuse Foiling System!!
It is $69.95 and comes with a starter pack of Poly Glaze Sheets and Foil pack. Oh and it's PURPLE and so so pretty! So if you've been on the fence about taking the plunge to use her Poly Glaze sheets, this new system may be worth checking out.

Supplies used on this card
Be Bold Blooms die set (Scrapbook.com)
Morning Memories pack by Paper Rose 
Catherine Pooler ink in Hoodie and Stone Blue
Cardstock in white, Plum Punch (GKD) and Pecan Pie (SU)
Gold gems from stash

Friday, June 23, 2023

For You 2 color wax seal floral card

 Hi everyone! I'm back today with another wax seal card using some new goodies from the Spellbinders Sealed for Summer collection. I attempted the 2 color wax technique and after a few attempts, I got a usable result. LOL! Kidding aside, this technique will take time to master.

How I did it:
1. I poured the first color (pastel lilac) directly on to the wax seal stamp and made sure to pour enough wax to fill all the design grooves
2. Then, while it is still hot I quickly scraped off the excess wax
3. When it completely cooled, I cleaned off the stamp making sure any excess wax pieces were removed, leaving only a clean design
4. Then I poured the second color (enchanted) on to my glass surface and placed the wax seal stamp into the second color.
I love the results of this technique! I got a few air bubbles and will have to work on it some more.
 

The For You wax seal stamp is part of the 3 pack of stamps and it is GORGEOUS. The grooves are deep enough that they really stand out in the wax and make the perfect template for the 2 color wax technique. All the beautiful flowers are from new Sealed Blooming Stems die set and I used the large bloom from the Be Bold Blooms die set. And what do you know - they are the same shape and nest perfectly!! LOVE!
 
Supplies used on this card:
 Wax Beads in Pastel Lilac and Enchanted
Spellbinders cardstock in White, Fern, Lilac Blossom and Purple Mist; Concord & 9th Parsley

Thanks for stopping by and have a great day.

Thursday, April 20, 2023

HI stitching card with Be Bold Blooms

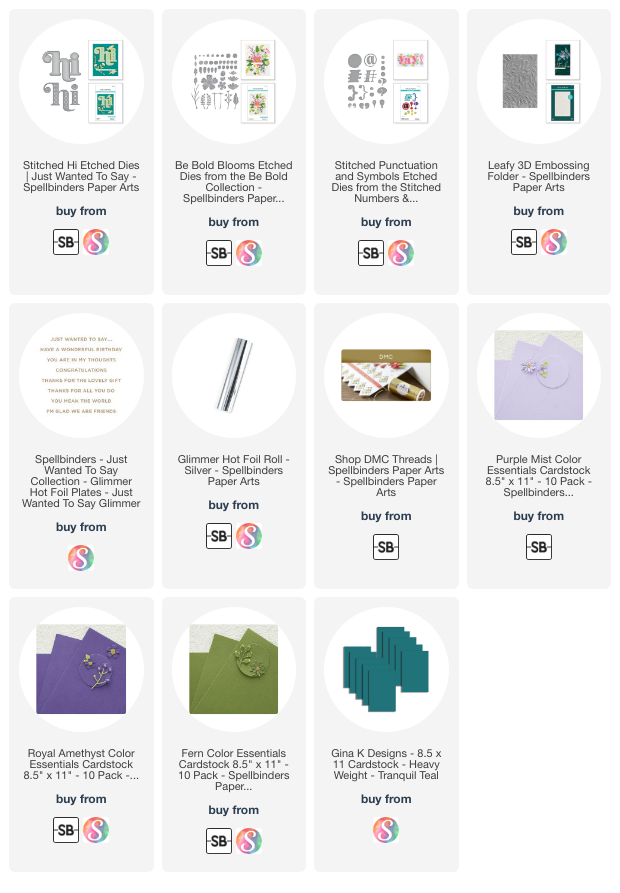
 Hi everyone! Today I'm sharing another stitching card using the Be Bold Blooms flower die cuts I had left over from my sister's birthday card. I used a slightly bluer tone for my background and embossed it with the Leafy 3D embossing folder. I combined the Stitched Hi and the new Punctuation and Symbols stitching die sets. I just love how it turned out!

This time I stitched with a dark purple floss to compliment the dark purple die cuts and added a foiled sentiment from my stash. I've been asked where I get my floss and when I first started, I was torn between getting the highest quality floss by DMC (which has a higher price) or a mid grade floss off Amazon. I went with the Amazon floss, the bundle I purchased had 200 colors, so it was hard to pass up! I'm really happy with them, they isn't as smooth as DMC, so separating the strands isn't as nice and they do get twisted a bit when stitching, but nothing I can't live with. I'll link everything I purchased below.

If you're new to stitching, be sure check out my Instagram page. I posted a 1 minute reel that shows all the steps. When I first tried stitching, I scoured YouTube to get an idea on how and where to start. So I made this short reel to show how I do it for anyone curious about stitching. 

Supplies used on this card:
These are affiliate links which means that if you shop with these, I will receive a small commission at no cost to you. If I've inspired you in some way I appreciate your support.
 
 Thanks for stopping by and have a great day! Here's a close up pic.
Saturday, May 14, 2022

Spellbinders May release: UR Wonderful

Hi everyone! The Spellbinders May release is here and I am excited to share a fun card using a couple new dies along with 2 old favorites of mine.

Dies used on my card:
* Letter U
* Letter R
- Stitched Alphabet Glimmer Descriptors
My card features the new Stitched Alphabet collection, the Letter U and the Letter R. This was my first time doing any stitching on cards and I really love the look! After watching a few YouTube videos I jumped right in and already I know I have to buy floss in every color! I am hooked!!
I die cut the letters 2 times and glued them together. This made it a bit stronger and able to withstand the stitching better. My first attempt using 1 die cut ended up bent in a few of the thinner letter areas (like the bottom connection of the letter U).
The sentiments are from the new Stitched Alphabet Glimmer Descriptors foiled in Silver. This new glimmer set comes with a million words - Just kidding, it's a set of 27 and they are a wide variety of fun words. There is a word for everything.
And this cute card would not be complete without some flowers from my favorite flower die set, Be Bold Blooms and YES, IT IS IN STOCK! Go order one while they last!
I added tiny gems to the center of each stitched "flower" to give it that extra sparkle and it turned out so pretty IRL.
So I am curious, have you all tried the stitching dies? If so do you enjoy it? I wonder if this is a new fad or it will stick around and be worth it to purchase a ton of floss!! Spellbinders sells DMC Floss in a variety of bundles, and DMC is the highest quality floss. BUT Amazon is a cheaper alternative and there are some inexpensive kits that has a lower grade floss already wound on plastic spools. I'm deciding which way to go. Which do you recommend? I'd love to hear from you!

Thank you for stopping by and have a great day! Here are some close up pictures.
The products linked throughout my post are my personal affiliate links which you can shop from at no cost to you!  Thank you for supporting me!

Thursday, April 28, 2022

Use your die cut stash!

Hi everyone! I had some time to craft yesterday and wasn't quite sure what to make or where to start -we've all been there, right? Then I remembered I have a TON of die cuts stashed away. Many of us crafters like to move on to whatever is newest in our craft rooms, but seriously, I have SO MANY die cuts all ready to go and they make for quick and easy cards! I have cover plates, decorative shapes, borders, flowers, leaves and so much more I just need to remember to use them.

So I decided to use some die cuts I had from the Spellbinders Be Bold Blooms die set and make a set of 4x4 note cards to give to my mom for Mother's Day. I'm making 5 cards and finally making a dent in my stash!

This card uses some of the raspberry and pink blooms with a circle from Pinkfresh and a sentiment strip from Gina K Designs Sentiment Sheets Mixed Sentiments which is a serious staple in my craft room for ready to use sentiments and they were cut with the coordinating Sentiment Strip die set. I also used a few of the Crystal Mix Essential Gems for a bit of sparkle!

Here is another design, this one uses some of the Peachy toned die cuts, a sentiment from the Be Bold Glimmer Sentiments set using black foil, and a square frame from Pinkfresh.

This is how I store all my pre-cut blooms from the Be Bold Blooms die set. I spent over 4 hours die cutting all of these and I don't want my time and effort to go to waste. :)

You can see I have enough for 10 more cards!! Thank you for stopping by and have a great day!

The products linked throughout my post are my personal affiliate links which you can shop from at no cost to you!  Thank you for supporting me!