Hi everyone! Welcome to Part 2 of my main bathroom mini remodel. If you missed yesterday's post about the bathtub and shower tile surround remodel you can scroll down or check it out HERE.
As I mentioned yesterday, this all started with a minor accident in the shower which led to redoing the tile. Once the tile was complete I realized the tile was white based with cool gray veining AND my old tile floors were circa 2004 with warm beige! I looked into the cost of pulling up the floor and doing new tile, but it was not cheap and my contractor was pretty booked out. So I did some research and decided to give painting and stenciling a go!
I mean I stencil on cards, same concept right?!? lol!
Here is what my floor looked like before -you can see I had already begun the paint swatching. As I was looking at stencil designs, I noticed all the inspiration photos had tiles with a clean straight layout.
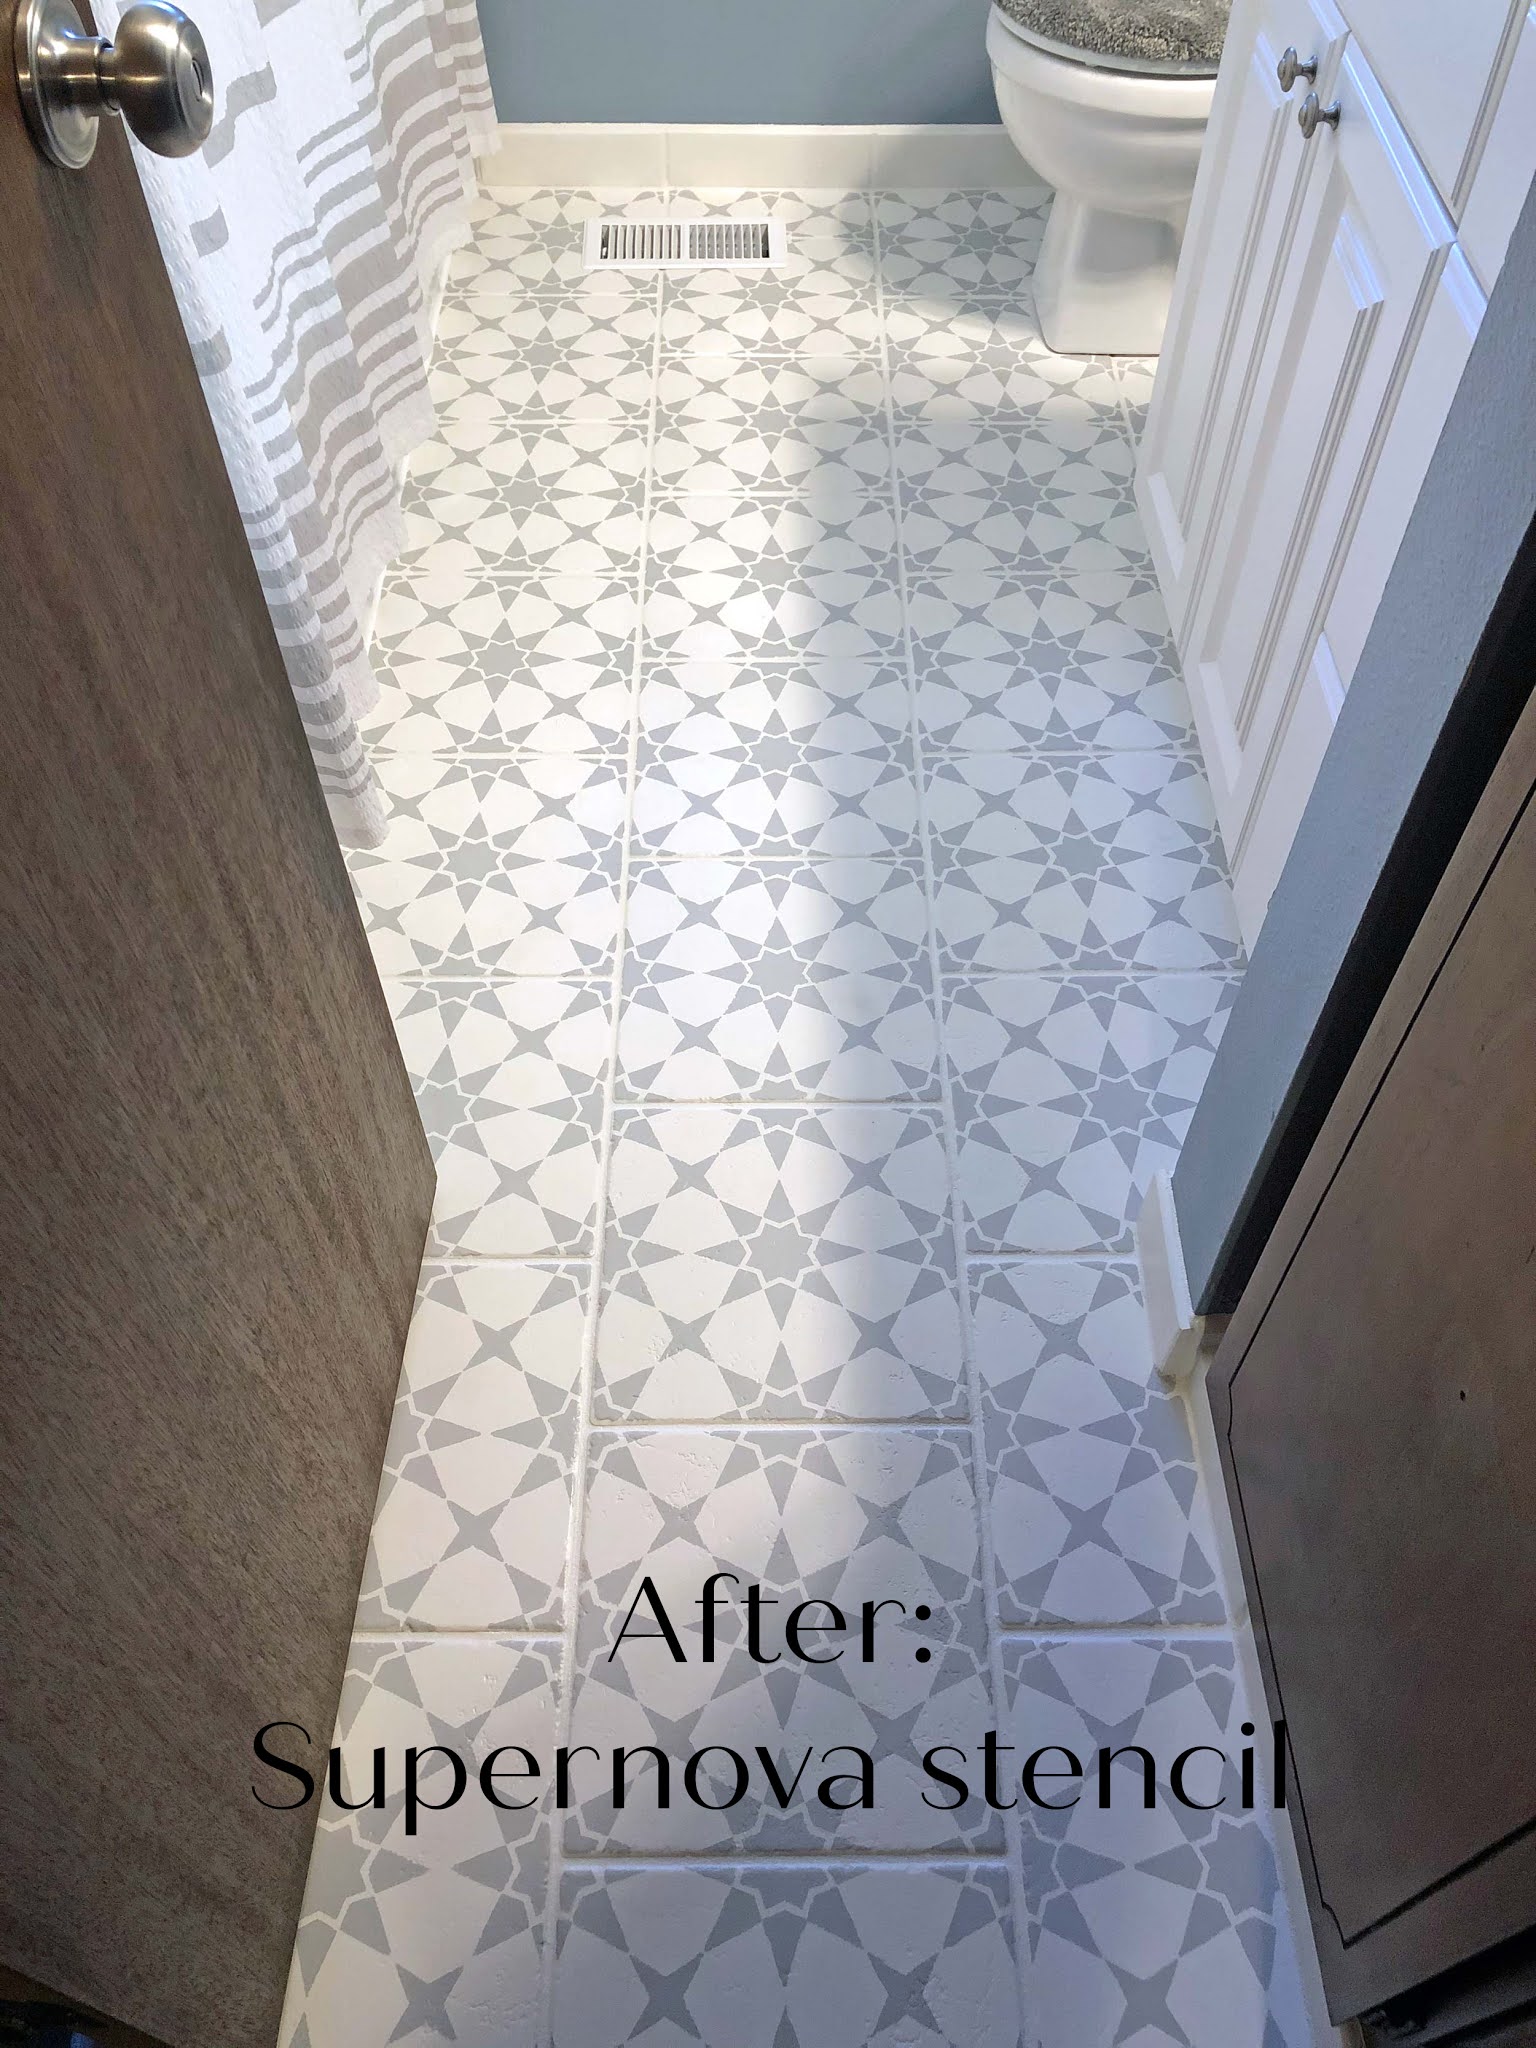
Mine is a 50% lay which complicated things. It ruled out MANY stencils as they were all flourish-y that continued and repeated from the corners onto the next tile. After some more searching I found a star type stencil that repeats on the 50%! Yay! Oh and have I mentioned my 2 teen boys share this bathroom -they wanted the frilly stuff to a minimum so this Supernova Tile Stencil was the winner! You can find it and a ton of amazing stencils at Royal Design Studio Stencils.
 Now design choices -do I paint a WHITE base with GRAY stenciling or do I go with a GRAY base with WHITE stenciling?!? I tested each out way on a piece of cardboard and decided to paint the floor white and use Icy Gray for the stencil.
 The prep work for the floors is not fun, you need to make sure everything is completely clean of everything and all hairs are off the ground. I shed hair with about every step I take, so I was careful to pull my hair back! Cleaning the floor from fuzz and hair was a constant battle with every step of the process. Sometimes I would turn around and there would be little things all over the floor -like HOW? Drove me nuts.
I started out stenciling the full tiles first and then I (gulp) cut the stencil in half and used the smaller pieces to stencil the cut tiles around the toilet and walls. In hind sight I should have bought 2, one stencil to keep whole and one to cut. The absolute worst was stenciling around the toilet. Let's just say I got up close and personal with every inch of that toilet. If it's possible, I suggest removing the toilet first, but we didn't want to hassle with it. Again, in hindsight, I would definitely remove it! My back, neck, shoulders and legs were sore for days!!
When it comes to stenciling uneven tile, I should note that there WILL BE some paint bleeding no way to get around it. I spent a full day laying on my tummy doing touch ups with both the gray and white colors to get it as clean as I could. In the end I embraced some imperfections. All part of a stenciled floor charm.
Each step (base, stencil, stencil touch ups and 2 top coats) took a day to paint and another day to dry. So know going into this project it will be almost a week before it's ready to fully use.
And here is the result! I absolutely love it! You barely notice the floor is a 50% lay and the pattern just flows throughout! I had a hard time deciding on a wall color. I tested out 4 grays, a white, 3 greens and 3 blue shades. I ended up going with Silver Fox by Valspar. It is a blue gray and perfect for this room!!


Very nice - who knew you could stencil a bathroom floor! Love what you did and especially loved the comments about "hair and fuzz" on the floor - what a nightmare! You did a great job!
ReplyDeleteThat is one of the best planned and documented project I've ever seen! My admiration for your courage, colorwork, and execution. What an inspiration. Now, bask in your results and our awe.
ReplyDeleteAwesome job! I just love it when ladies rock a home improvement project!
ReplyDeleteOMG that looks great! Good thing you had all that experience with the stenciling! :)
ReplyDeleteThis turned out super wonderful! You certainly were dedicated and it paid off. I would not have that much patience to do a project like that and you directions were very informative. Good to know all the time and work it would take before getting into it and finding out it was just too much. Beautiful job!
ReplyDeleteWow, that is amazing!
ReplyDelete