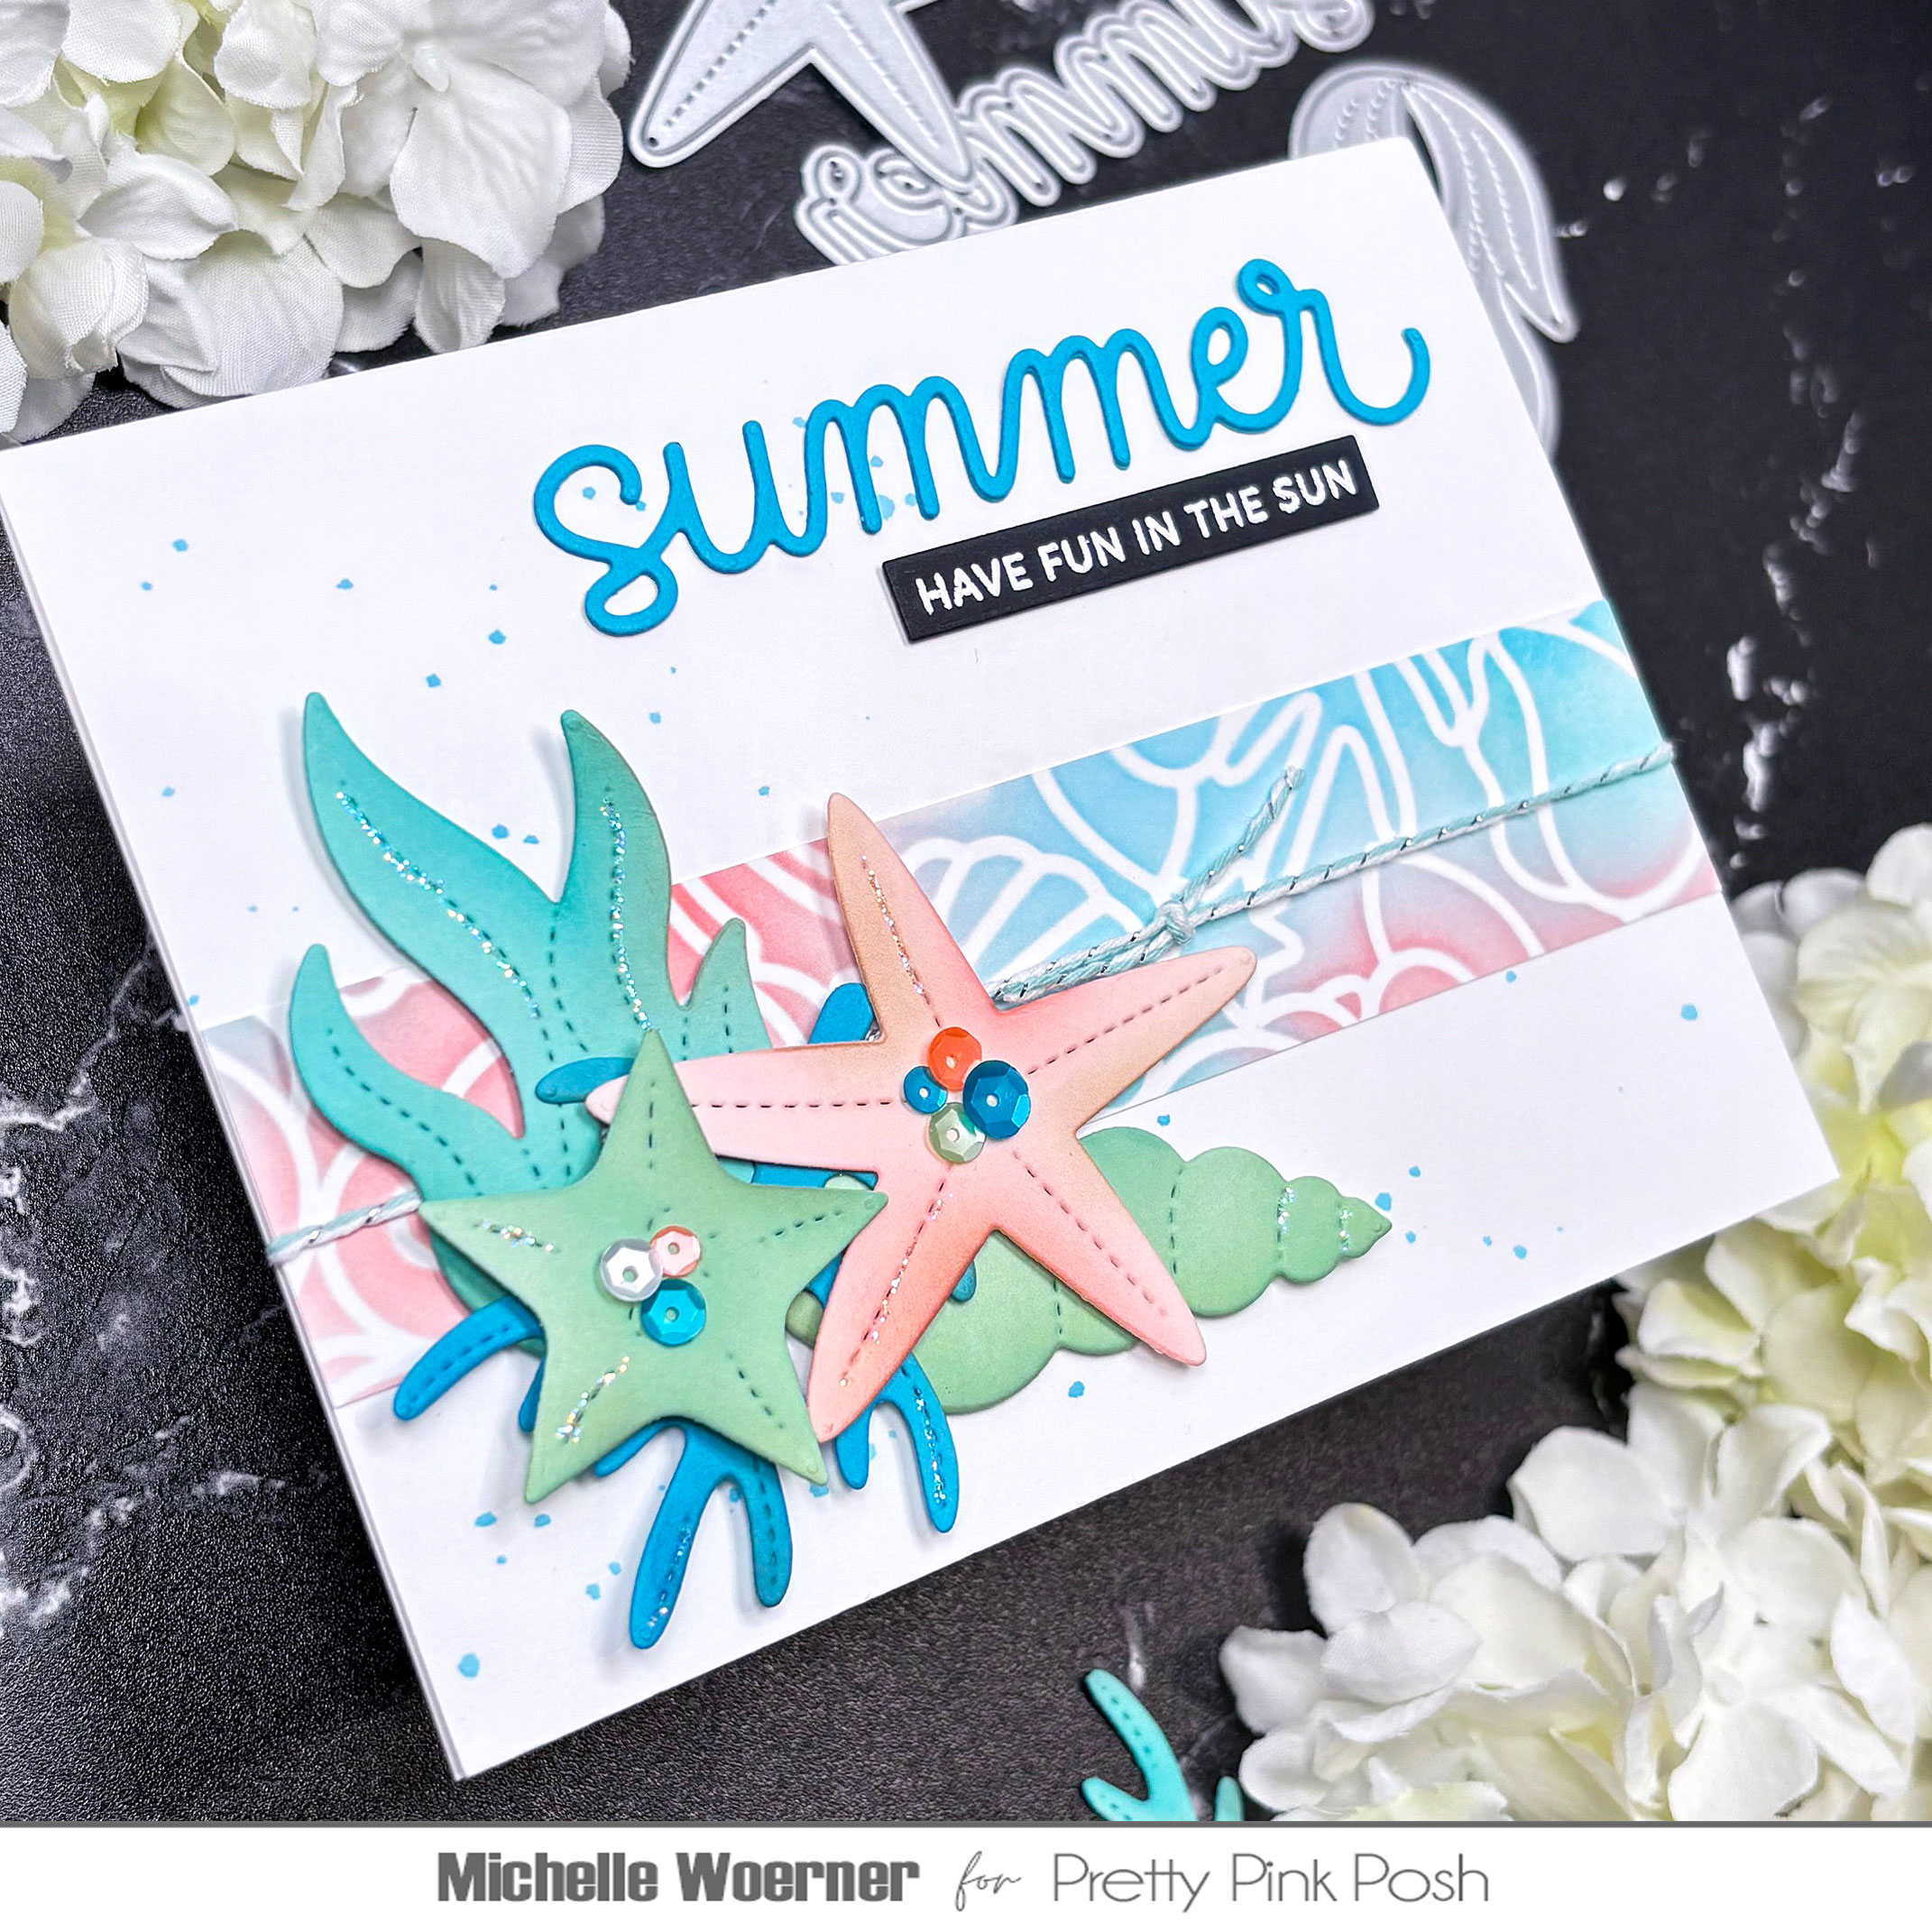
Hi crafty friends! Today I'm sharing 2 more cards from the City Holiday collection designed by Yana Smakula for Spellbinders. This collection features 3 die sets, 1 sentiment set and 1 BetterPress plate set. If you missed my first card with this collection, click here to see it.


Card 2 is a shaker card! I recycled stamp packaging and created a slim profile shaker element. To
start, I inked blended Bristol Smooth cardstock with Distress Oxide inks (linked below). Next I covered it with some stamp packaging and sealed up 3 sides with 1/4" double sided tape. Then I added Bejeweled Shimmer Flakes and sealed it up the top and adhered it to a card base.
I die cut the JOY out of a A2 panel and placed it over the shaker element. When I was done it looked a little bare, so I added a simple rectangle frame around the card base and a few black gems.
-----------------------------------------
💥Be sure to check out ALL the August collections💥
-----------------------------------------
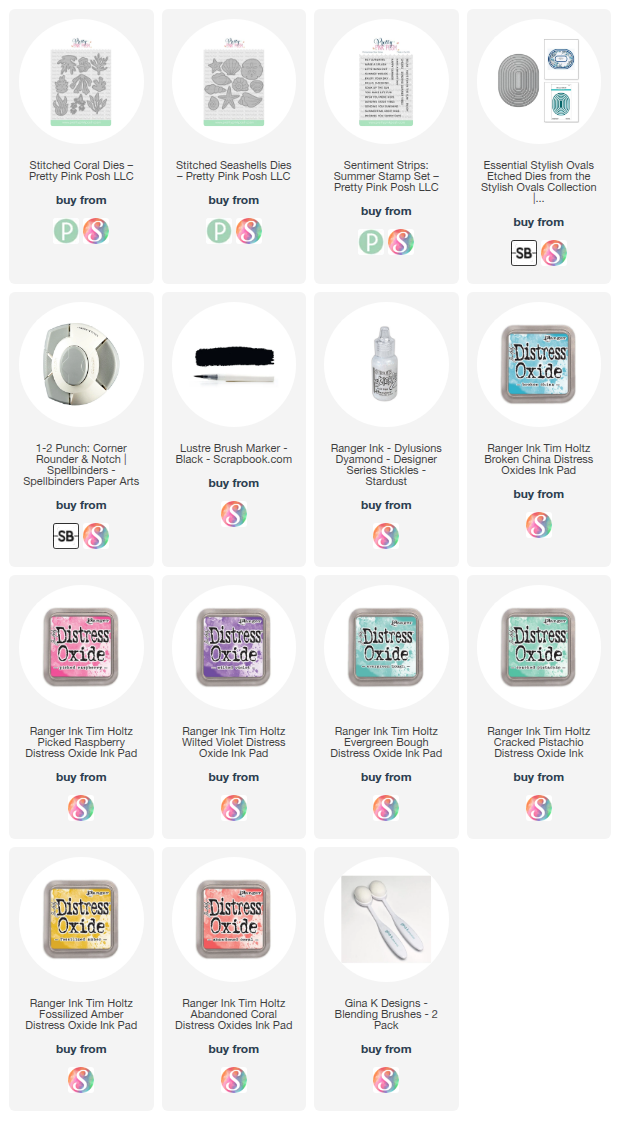
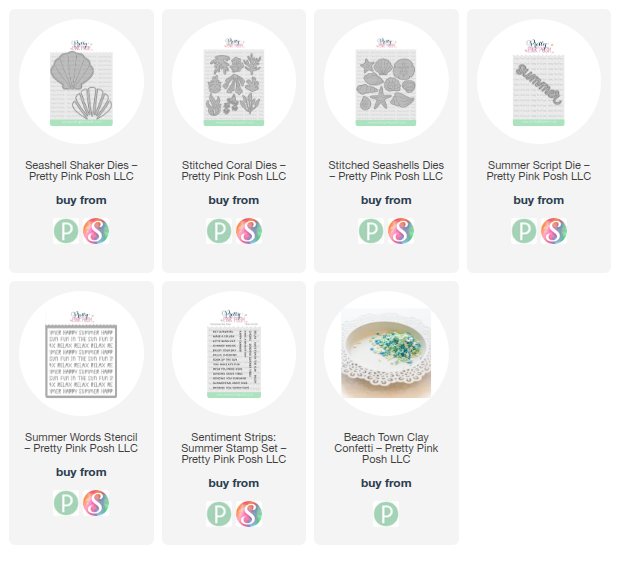
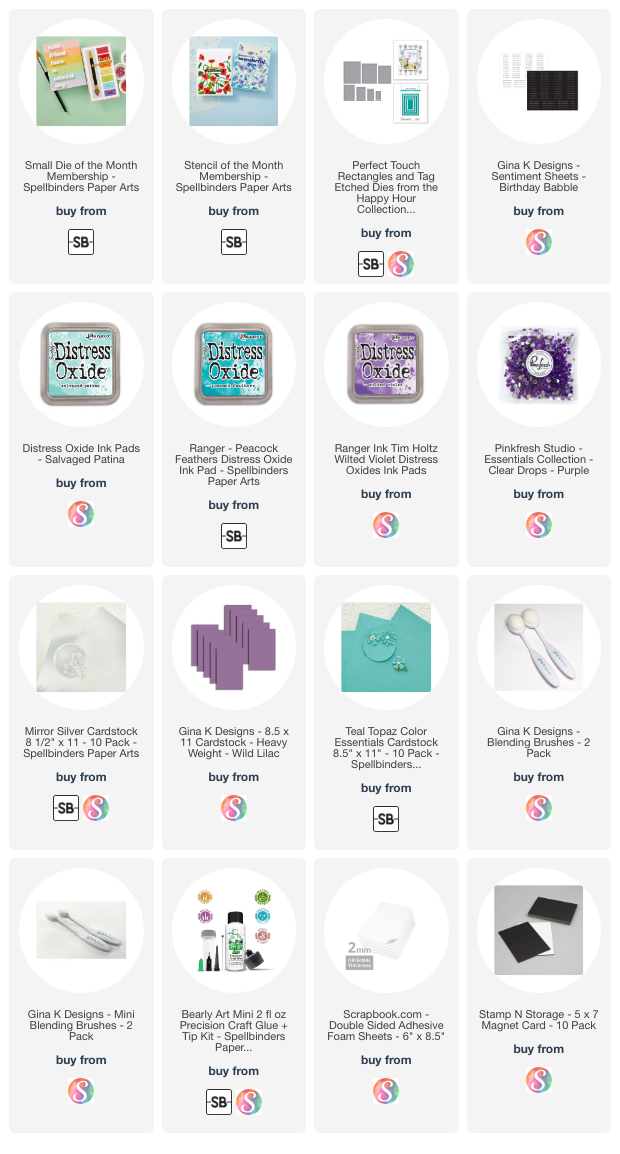
Products used on these cards:
These
are affiliate links which means that if you shop with these, I will
receive a small commission at no cost to you. If I've inspired you in
some way I appreciate your support.
Thanks for stopping by and have a great day!